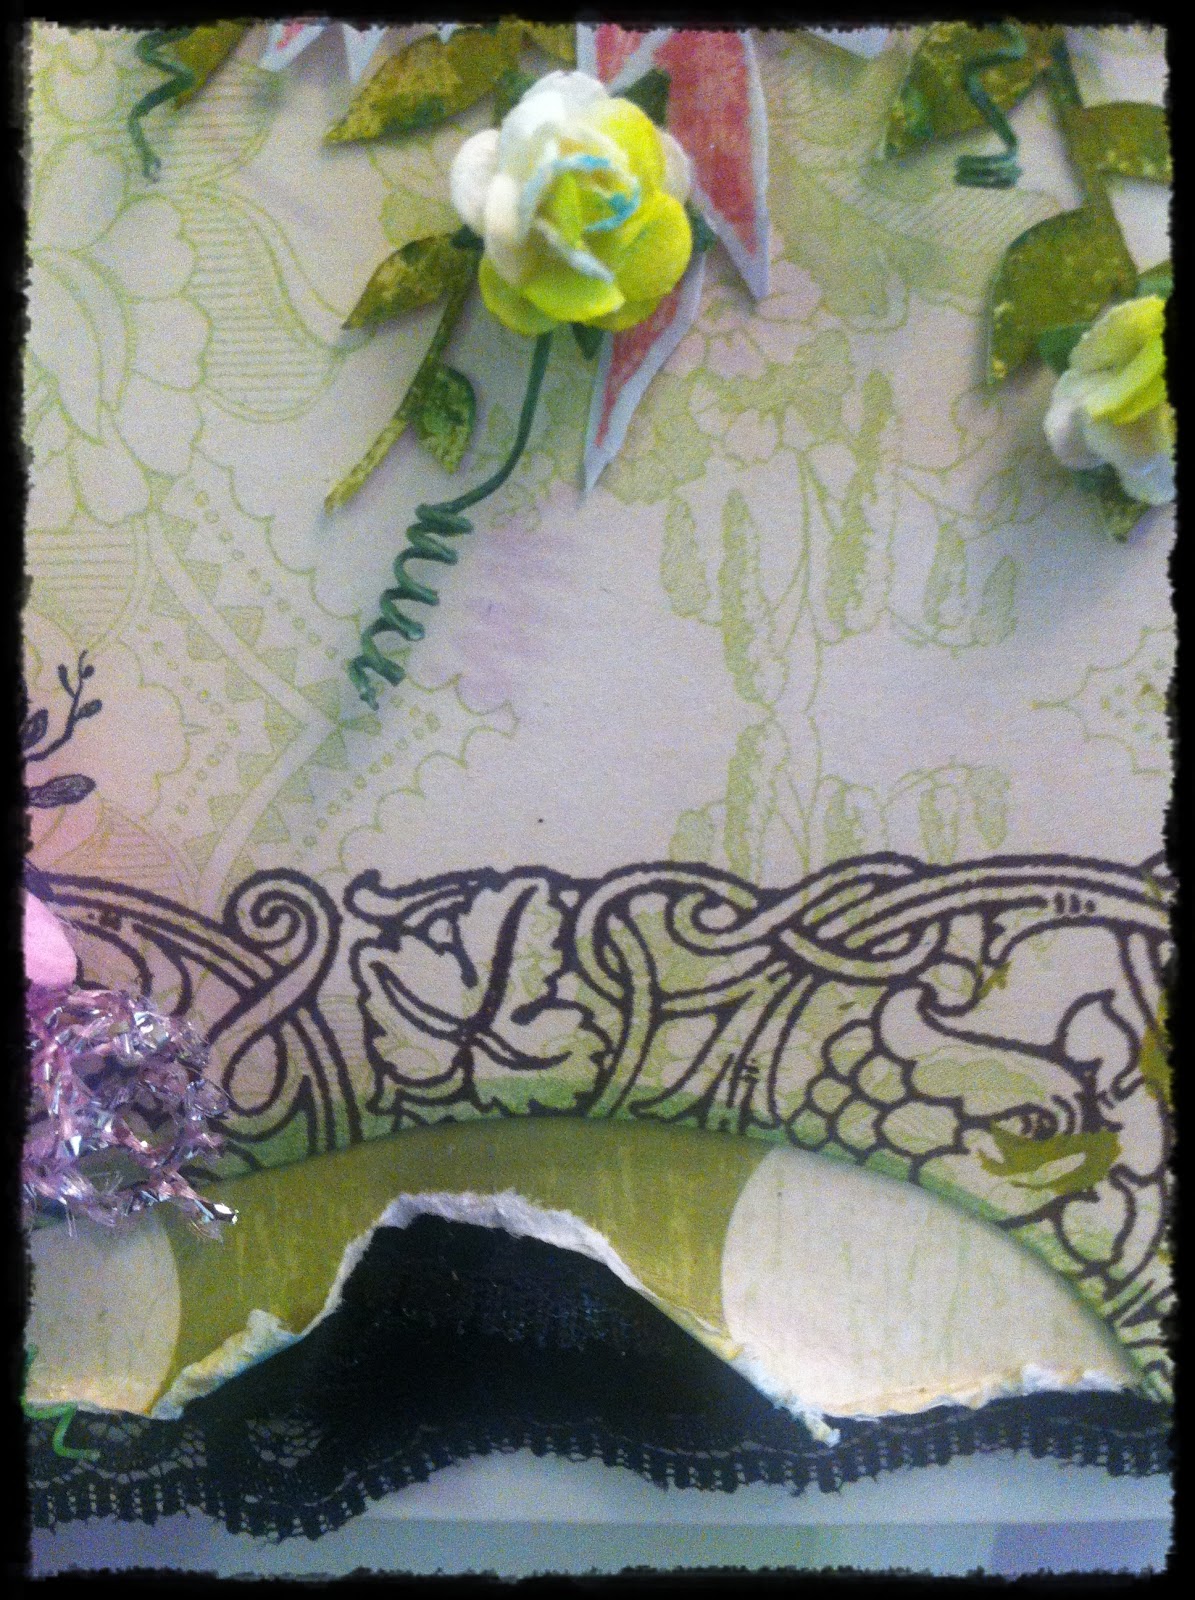
Showing posts with label 12x12 layout. Show all posts

Tuesday, 23 April 2013

Family Layout


The beautiful Life Time paper line by Prima inspired me to scrap a family photograph taken on my birthday a year ago at Bab Al Shams.  With half our family living in South Africa it was and is a pleasure when we are all together.  I love this photograph taken before we started to feast and enjoy the nights entertainment.


 This collection is so suitable for a family layout what with one page containing words like family, memories, together, cherish, etc. and another with tags and sentiments among other things.  I used software on my computer to change the original colours of the photograph to various hues of brown - it suited the paper tones perfectly.  The tag with the green ribbon bow slides behind the layers of paper - I will use this tag for my journaling - the black alphas read Bab Al Shams 30-12-2011.

The 12x12 sheet I hot glued onto black chipboard.  I tore the paper somewhere in the middle, added some soft netting I sometimes use on my layouts  and a bit of matching lace to stick out slightly.  I used two layers of patterned paper from the collection before adhering the photograph.  Tore into the paper at the left hand corner and curled it so that they followed some kind of order.

I used many different masks, templates, pastes, glimmer mists and distress inks to alter the sheet I chose for my layout - yeah then I went and layered all my embellishments and now the effects are only peeping out :-)  I just had to add the camel for the desert effect!


The chipboard heart is by dusty attic and frames all our smiling faces beautifully.  I used various dabbers on the chipboard.


The black key is also a Prima embellishment.  I clustered 4 flowers from the collection and placed the pink flower on top - I love how the petals peed out! The little tag that reads smile I fussy cut from one of the sheets of paper.


The flowers are also from the collection.  With the exception of the lace and 3 material flowers everything I used in this layout is available at Paper Lane including the camel.  There are other matching elements available in this collection; it is beautiful and perfect for layouts, cards, mini albums, anything.  Pop into the store and get yours now!

I hope you enjoyed viewing my layout...until next time happy crafting!  Janine


Wednesday, 17 April 2013

Happy Day Layout

Hello browsers, thank you for stopping by.

Using the beautiful papers from MME The Sweetest Thing - Honey collection.  I  decided to scrap a photo of myself my husband took when we arrived in Dubai a few years ago.  I left it out on my work table and I was later horrified to see that water had spilled on it and this had caused the ink to run.  After close examination I decided the photo did not look that bad and realized it could fit in with the look and mediums I intended to use on my layout.

Here is my layout at a glance...


See on the image below how the pink in the ink ran in the photograph...


I layered different patterned papers from the collection and with some bubble wrap and yellow paint added texture before adhering the photograph.  Some of the tile texture is showing in the top corner.  I did a lot of paint dabbing and glimmer mist sprinkling before I started on my design.  Did very little inkling; distressed all the edges of the papers instead.

I chose the page with the bees...here is a snapshot of the page before I started working on it


I thought the pink in the roses picked up the ink in my photograph perfectly and it also finalized my fourth colour which I wanted to add to the black white and yellow theme! I created some texture with the mini tile texture template,  Took some Viva Pink Glimmer Mist and sprinkled its vibrant colour all over the page.


The black and white flower in the top left hand corner was cut with my cameo - I used black and white dotted paper from the DCWV La Creme paper stack.  The bees and 'honeycomb' shapes was my inspiration and I carried this theme forward throughout my layout!


Yellow daisy like flowers with black centers was perfect for this layout and the black glittery swirl added just that hint of elegance. I finger dabbed white paint on all the flowers for additional definition.


I love how the black and white striped ribbon matches with the black and white paper under the photograph - they are from two different collections.  One always steers away from like on like but there are times when it look good - like this time :-)


Black and white patterned paper under the chipboard sentiments further emphasize the black and white scheme in this layout.  Spun a yellow beaded spray across the page and it looks like drops of golden honey.


The chicken wire is a die cut by Dusty Attic.  I cut it into various sizes and adhered it to different places on my page.  When dry I took a toothpick and ran yellow paint along the lines of the shape to create the illusion of honey.  Love the outcome!


I placed a chipboard rose on the exact image on the paper


I used Sun Sisters glimmer mist on the sun template - think it was the perfect touch to this page.


Products Used
MME Sweetest Thing - Honey paper
MME Sweetest Thing - chipboard elements
MME black striped ribbon - Stella Rose 'boy' trims
Dusty Attic - chicken wire 
Mini Tile texture 6x6 template
WR Memory Keepers sew easy floss
Martha Stewart rubby ducky satin craft paint
Sun sisters and Viva Pink glimmer mist
Tim Holtz paper distresser
Black Soot distress ink
White acrylic paint
12x12 chipboard

Non Paperlane Elements
Yellow flowers, black flower lace and centers
tiny white daisies, bees, butterflies and buttons
Sun stencil and yellow beaded string

With beautiful papers and matching embellishments once can create anything.  Paperlane stocks such a wide variety of papers, embellishments, mixed media tools and products, die cuts, etc.  Too many products to mention.  Let the wonderful products sold at Paper Lane inspire you to create beautiful memories.

Until next time...Janine


Thursday, 11 October 2012

OUAS October Challenge

I am entering the October challenge at OUAS.  They are an amazing crowd with the most inspirational DT members and guest artists.  Every month they have a challenge that inspire your creativity and imagination.  I will make a huge effort to enter every month where and if possible.  Here is the link to their website; click on their name...Once Upon A Sketch and browse...like me you might be inspired to enter their challenges! 

Here are the details of their challenge...

" We would like you to create a layout based on this quote. You can interpret it ANY way you like. There is no wrong or right way to interpret this quote  but your layout must incorporate something from this quote AND the sketch below. Please make sure that we see some sort of journalling on your layouts and please tell us where your journalling is . Hidden journalling is perfectly fine ".

So without any more fuss here is my layout...

I love this photograph of my daughter! She took so many that day that it inspired me to use "take another shot" which is part of the quote.  She took her photographs late afternoon and her bedroom was filled with brilliant sunshine which in turn lent her photographs that soft hue - love it!

On this layout I did a real mix and match of products; I will list them at the end of my post.  
I used Adirondack acrylic paints with the bubble wrap and some Martha Stewart white texture effect paste on the brick template.  Distressed and tore the bottom sheet of paper and outlined the curves of top sheet with light green acrylic paint.


The top corner is a green hair accessory that my daughter threw away (I keep everything - I am a junk junkie :-), a green Prima flower and a blue butterfly button by BoBunny. Layered various doily's for that cluster effect and the beautiful Victorian looking rose in the centre of the crochet flower is actually a brad by MME from the Miss Caroline collection.  My journalling is hidden but the corners of the tickets with the pink and green flower is showing just under the leaf branch dangling down. I cut the green leaf flourish under the pink chipboard flower with my Cameo


Placed a smaller version of the photograph on a memories journalling card.  Fussy cut the flower image only so that I could slide the photo behind it.  The green flower is by Prima and the black and pink flower is by Petaloo.


A beautiful cluster arrangement of IAR and WOC flowers and leaves.


More beautiful flowers.  The green image peeping out I fussy cut from the Spring Jubilee collection by Pink Paislee.  I stuck a random off cut piece of pink net under the rose paper image.  I secured a Prima heart shaped button on a brad from the Hello Summer collection by Echo Park; tied a bow with white twine.


The alphas are from This & That by Echo Park and I layered them on green and pink paper - distressed them a bit with  various paint dabbers.  The pink chipboard flower is by MME from The Sweetest Thing collection.  I dabbed some white acrylic paint on it for extra definition.


The above images show the green charm I dangled from the Prima Flower.  
On the green Prima flower I hot glued a beige crochet flower; then alcohol inked a normal  safety pin, looped the charm through it and hot glued it to the crochet flower.  Crinkled up some WOC vintage seam binding, tied a bow and hot glued it to the safety pin.


Here I shaped pink glittery net under the cluster of flowers - love the effect! 


I fussy cut the pink roses and leaves from a sheet of paper from the French Country Stack by DCWV.  Also cut some random leaves so that I could layer them slightly over the photograph.  See a close up image below...


I fussy cut the pink and green flowers so that I could insert her photograph - that is a noteworthy from the Natures Garden collection by Prima.  Added glossy accents to the flowers for extra effect.


Black lace under the layers of paper


I had some leaf branch cutouts from my Cameo handy to I placed them under the pink leaves and arranged some IAR roses to give the effect of it all dangling down...see another image below...


Products Used

Patterned Papers:
Making Memories - Mistletoe
DCWV - French Country Stack
Pink Paislee - Spring Jubilee

Embellishments:
MME: brad, chipboard flower
Echo Park:  brad, This & That alphabet and journalling tickets
Prima: Natures Garden noteworthy, flowers, roses, button, leaves
WOC: roses, leaves, seam binding,
BoBunny: butterfly button
IAR: roses
Petaloo: flowers
Cameo: leaf branches and leaf flourish

Stash: 
charm, safety pin, flower hair accessory, doily's, creme white & black lace,
various doily's, skeleton leaf, memories journalling ticket,
pink & creme net, bubble wrap,
artificial leaves, black 12x12 chipboard

Tools & Other:
Crafter's Workshop wall template
Martha Stewart white texture effect paste
Light green acrylic paint by Fister
Adirondack Paint Dabbers:
white, mountain rose, pool, lettuce
Glossy accents, double sided tape, glue gun
Tim Holtz paper distresser


Wednesday, 12 September 2012

Atlantis Layout

To me Atlantis is and will always be one of my best memories of living in Dubai.  I often contemplate how lucky we are to be able to go there anytime we choose and of course the weather is always perfect for it!

Last year December we did not go home as we always do but instead had Jessica and Matthew visiting for a few weeks and what fun family time we had!  Of course Atlantis was on the outing schedule and the images in my layout show how Michael captured the girls kissing Lisa the dolphin.


I used a 12x12 sheet from the Tradewinds DCWV paperstack.  This paper is awesome and so versatile - see how perfect the  design on the paper is for a water themed layout!  


The images were glued down onto blue cardstock that was matted onto a beigy cardstock.  Each image was surrounded by flowers which was glittered and inked.  I placed a K&Co bauble in the center of each flower.  I embossed and glittered the flower that has the shell in the middle.


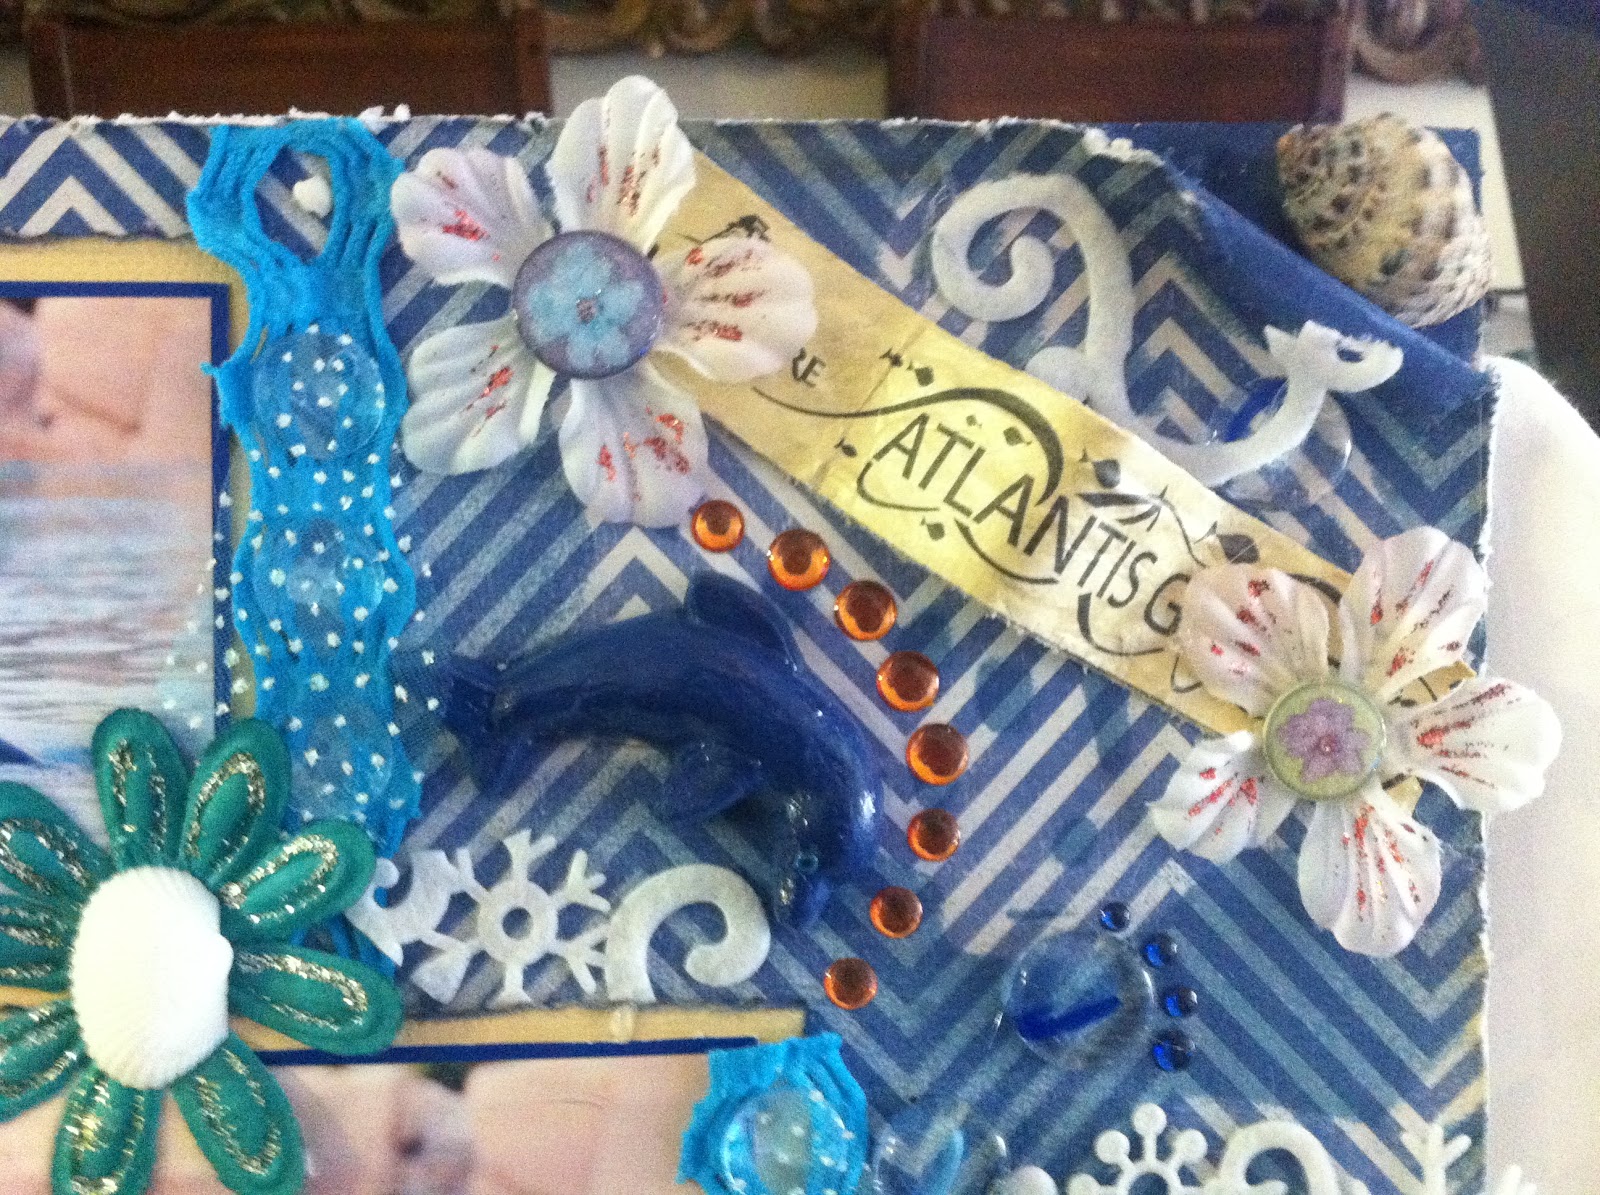
I used the actual visitors wrist band you receive to suffice as the title of my layout.  Lots of felt swirls and twirls to symbolize water.  I painted the right hand corner of the chipboard blue, rolled back the paper, dabbed some blue paint on it and secured with glossy accents.  A shell in the corner completed the look!


Each image was cupped by a K&Co glittered leaf embellishment.


On the right side of each image I secured 3 pale blue stones onto blue lace.  I cut a strip of blue glittery almost transparent type of material I have in my stash and covered the stones with it - I secured it with a white glittered flower.  The effect is almost coral like and really pretty to see!

'
A while back I had bought a few white ceramic dolphins; I had intended to decorate my guest bathroom with it and somehow it traveled with my stash to Dubai.  I painted it with blue acrylic pain, used glossy accents and tiny blue bling for its eyes.  Bling and gel swirls around it create the illusion of movement.


I love the effect I created as shown in the image below.  I cut the paper at an angle, distressed the edges and turned it up slightly.  I glued down some glittery blue/green/orange.brown ric rac trim on the edge of the upturned paper.

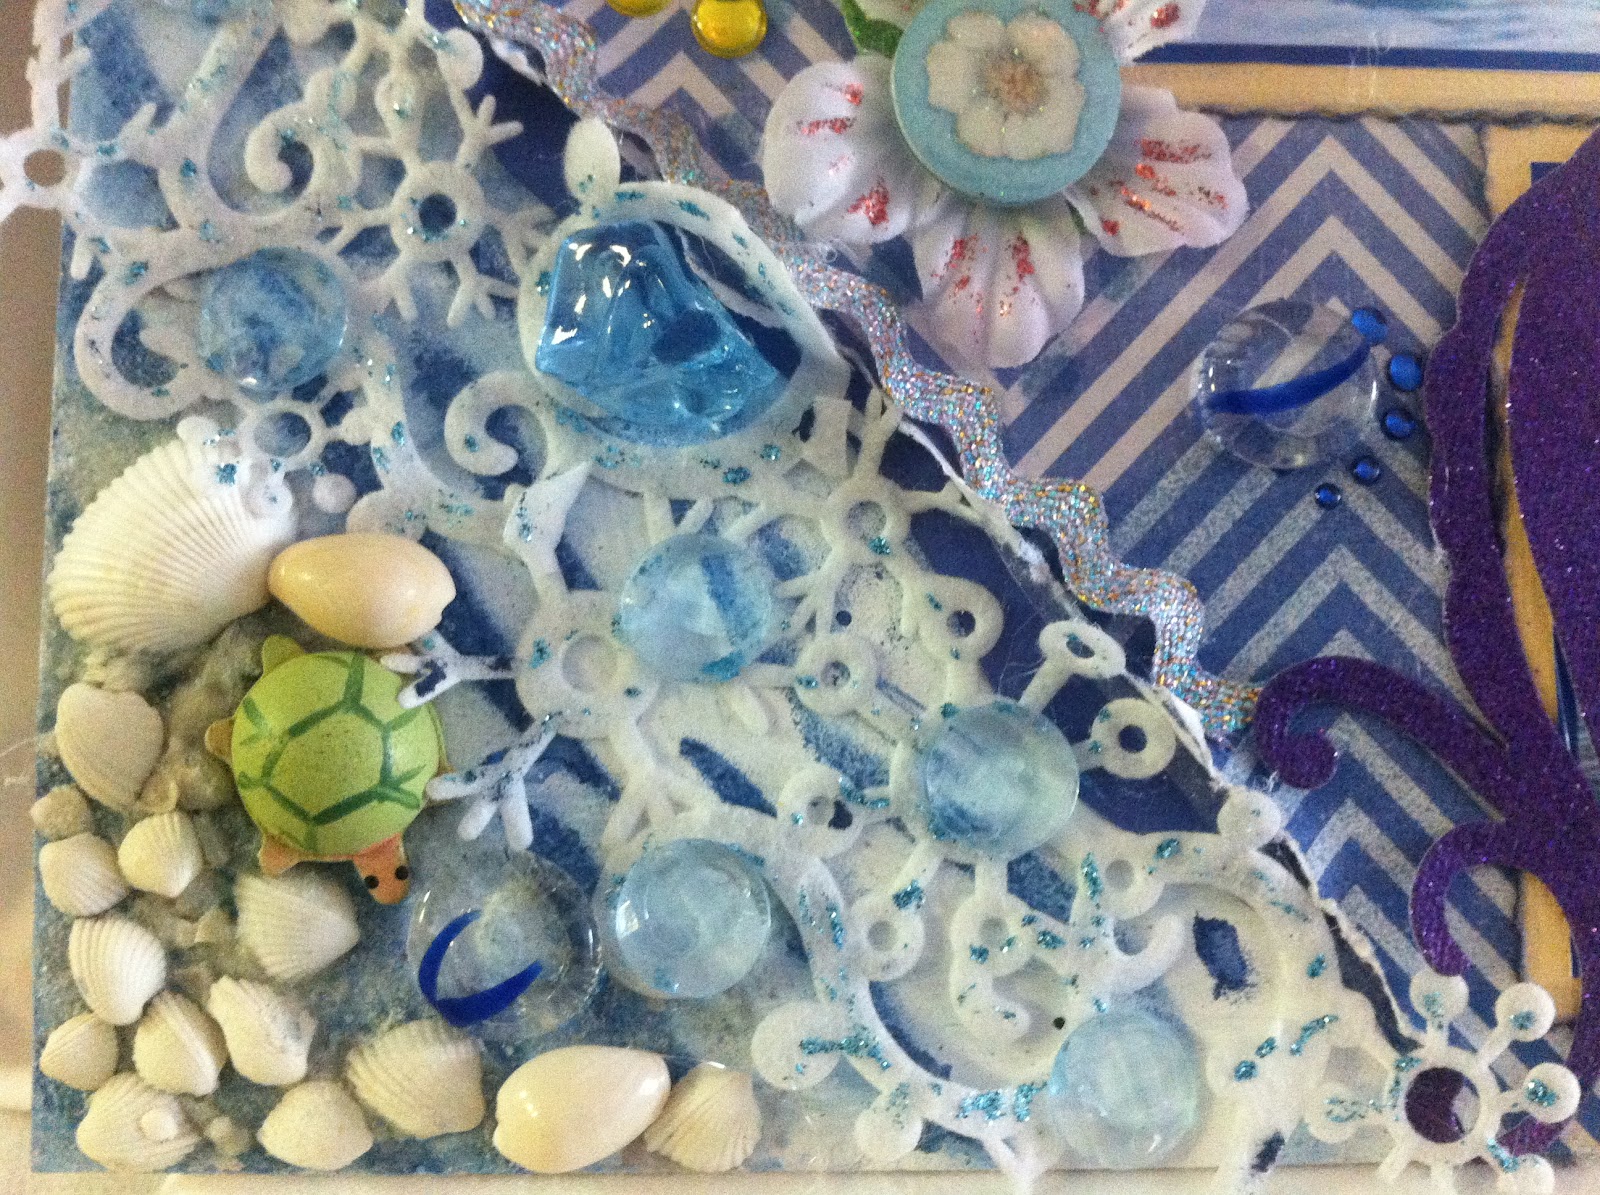
Next I painted the chipboard with white acrylic paint; when dry I randomly finger painted with the same blue paint I used on the dolphin and top corner.  When dry I ran my glue stick over the painted area and drizzled some actual sea sand onto it.  I then adhered the white felt trim to create the illusion of some wave foam and randomly placed pale blue stones on it.  Next a cluster of shells and a sea turtle as a final embellishment!  


I love love this layout - not only does it remind me of the fabulous time we all had together but I totally stepped out of my normal layout routine, used different techniques and used non scrapbook embellishments - awesome effect!

I used this layout as a Paper Lane challenge.  Besides the obvious non scrapbook embellishments, everything I used on this layout was bought at Paper Lane (click on the name to go directly to their blogspot).

Paper Lane is the largest scrapbooking store in Dubai and stocks everything you can dream of - the staff is friendly, the owner awesome and it boasts some really talented ladies on the design team.  I am blessed to be part of the design team.

I hope you enjoyed my project and i hope you can find inspiration to try something different on your next  layout.  Thanks for stopping by and do leave a comment...


Thursday, 16 August 2012

Perfect Couple Layout

This layout features my beloved parents.  As I was growing up their love for each other was always visible and now even more so.  I always said if I could find what they have and share I would truly be as blessed.  My mother said "how could you have used this picture!!".  My daughter on vacation said smile and took this photograph with her cell phone - it was on the spur of the moment and I fell in love with it!

I have used so many different elements on this layout and used so many different techniques - I will try to recall what I used and did since the layout is no longer in my possession but proudly displayed in my parents home.


Papers used:

This & That - Echo Park
Yours Truly - Echo Park
Weekend Market - Bo Bunny
Sweet Spring - Fancy Pants
Yellow cardstock


Prima flowers, Paperlane green flowered trim, Dusty Attic flourish, Tim Holtz swirls, bird and birdcage, K&Co dragon fly. Layout inked with Ranger's aged mahogany distress ink.


More Prima flowers, key from my stash, Ohm sign bought at local shop and hanging from a Tim Holtz swivel clasp, stickers from  the Yours Truly collection.


Prima wall mask coloured with mica powders. Picket fence cut from thick white card stock and embossed and inked with Ranger products.


All the flowers above are artificial, the red spray and tiny white silk flowers from my stash. The beautiful cream lace is Websters Pages Designer Trims with more of the green flowered trim from Paperlane. Vintage oval trinket from my stash.


The teal flowers are Petaloo, leaves are Prima, sprays from a local florist and various artificial flowers.


Butterfly cut from a butterfly card, spray from my stash and red heart from the Yours Truly paper sticker pack.


The fussy cut books and the 'world' papers behind it are from the Bo Bunny Weekend Market collection - my dad is always always reading.


The tea pot was fussy cut from Lil Primrose papers by Kaiser Craft - they are both tea lovers.  Flowers are artificial. The green leaves peeping out from the orange flowers was cut with my silhouette Cameo - I coloured them with pencils.  The yellow flower with the silver bling centre was a hair accessory.  Remember is a cut from a sheet of paper in the Echo Park This & That collection. 


While I was creating this layout I used elements and embellishments that were all about them like the tea pot, the books, the wall with the pickets fence and all the many flowers - they love gardening.  The colours of the flowers are also symbolic as is the Ohm sign.  The paper choice, hearts all over, the colour red, stickers all say much about their love for each other. 


Despite her little moan about the photo itself, my parents totally fell in love with the layout and so did I.  I hope you like it too.

Thanks for stopping by...