Showing posts with label card. Show all posts

Saturday, 3 August 2013

A Ladies Diary Card

One of the ladies in my swap group has recently left Dubai and it was with sadness that we combined our last swap with a farewell lunch for her.  Her creativity and cheerfulness will be missed.  

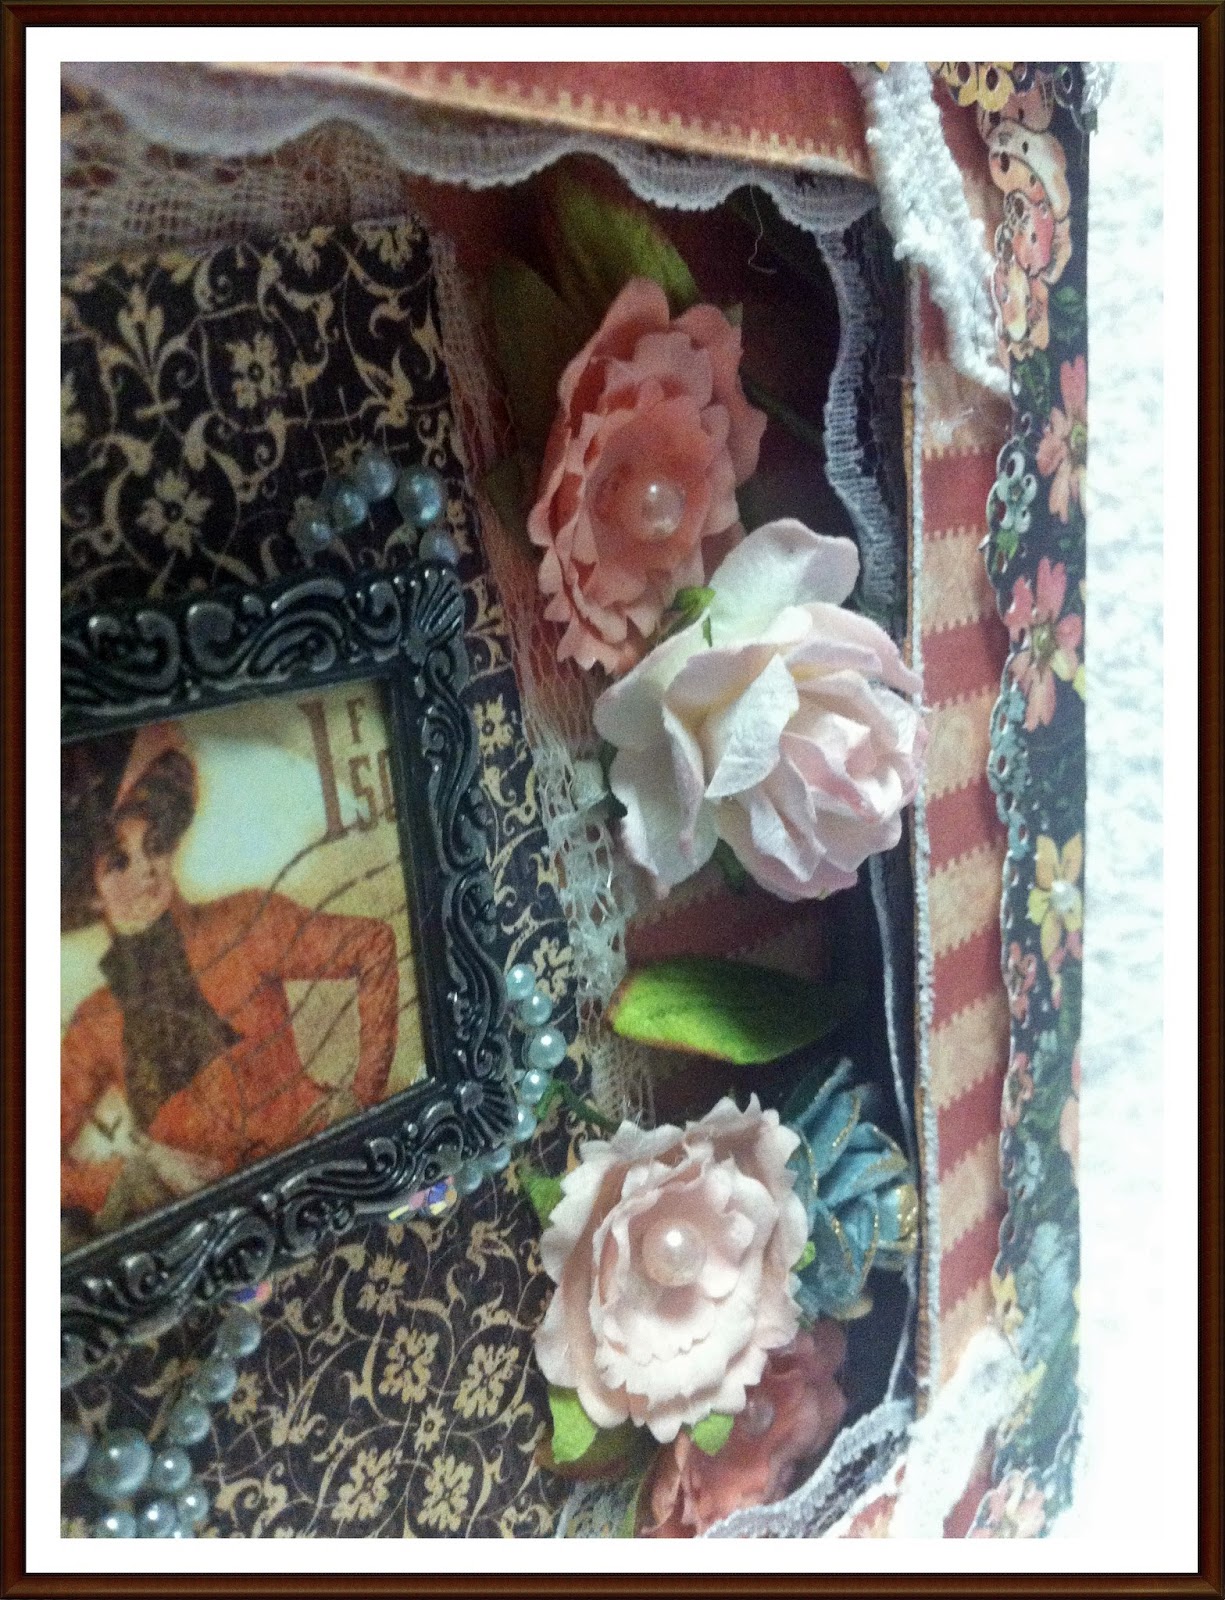
I made a card for her not only as a memento but with enough "space' for all of us to write a personal message to her.  I thought about the design and style for a bit because I know she loves to work with bright colours but in the end I chose the papers from the glorious Graphic 45... A Ladies Diary,  Who would not love a card designed with these papers??!!  

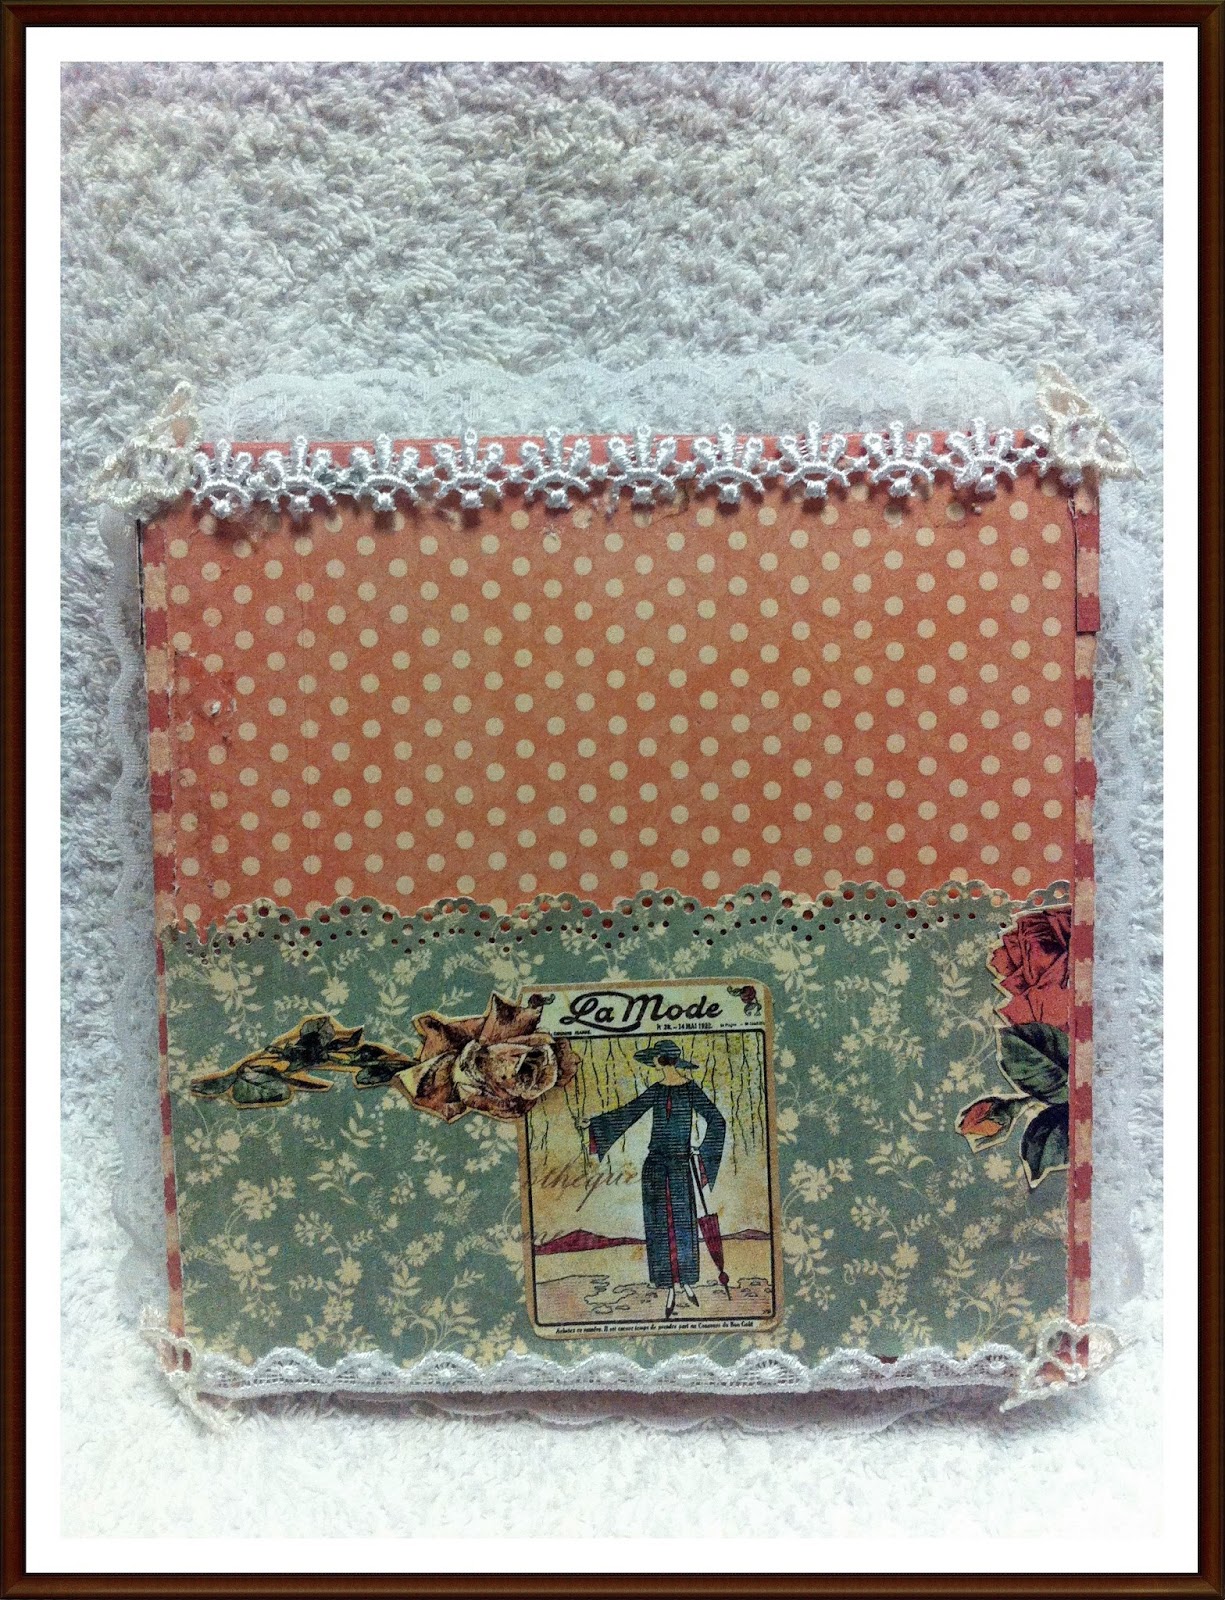
So without further ado, let me show you the cover before we tuck into the inside pages...it is quite unique.


On the cover I used lots of lace and flowers.  I also distressed everything with my white dabber to give it more of a vintage shabby look.


With this card I wanted to create something she would treasure as a keepsake representing the group and not me so I divided two additional plain card stock sheets to fit inside of the card to accommodate all the messages of the different members of the group.  Next I fussy cut various ladies from the paper collection to represent the group.  I also punched holes in the middle page, ran a silkystring through it and added a heart charm.  On the last page I added a group photo!

The page below is the inside of the first page of the card

The image below is the middle section of the card
 The image below is the last page of the card
 The image below is the back of the card
 The card showing the various pages

Dont you just love the ladies in the design of this awesome paper collection...

I thought...felt it quite apt to fussy cut the different ladies on the awesome papers...after all our group does consist of the most awesome group of ladies :-)


When you work with Graphic 45 papers anything you create is bound to tbe appreciated!!

Hope you like the card................


Monday, 20 May 2013

A ladies diary birthday card

A very dear and special friend of mine recently celebrated her birthday and to celebrate with her, I also gifted the following to her...


A ladies diary birthday card an altered spoon!!!

This blog post will just feature the card and I will showcase the altered spoon in another post.


I created a box card and used all things pretty...lots of lace and pearls and gorgeous Prima flowers.


The Martha Stewart daisy punch is a must have; it just adds to the beauty of any feminine card.


The clock button is also from the collection.


I fussy cut the ladies and added triple layered foam squares to the lady in pink!


Gorgeous Prima flowers and my favourite WOC pink rose; the turquoise rose is also Prima!


Love these ladies... elegant ladies for a elegant friend!


                               Back of the card - I removed the tag to protect her privacy

What can I say... the paper line says it all!

...and she is an awesome lady indeed...


Wednesday, 9 January 2013

Wedding Card

I made this wedding card for a dear friend and really wanted to do something different although staying with a wedding theme.  My friend is very traditional and if I had created anything out of the ordinary I would have received a "oh how nice" response :-).  

When I gave her the card it was just the response I wanted!  So she loved it, I loved it and I hope you love it too...


I cut the box card with my cameo silhouette - a shadow box card designed by Alaa' Studio.  I used black cardstock for the cutting and did another cut with the designer paper.  I cannot remember the paper range but it was exactly what her wedding colours were - pale peach, creme and grey.  It was an older range too and very pretty.  


Its not too visible but if you look past the heart to the back you will see 3 layers of paper - these layers are squares of Pion paper inked with aged mahogany distress ink. The heart is outlined with perfect pearls and above the heart is the word love spelt in silver letters.


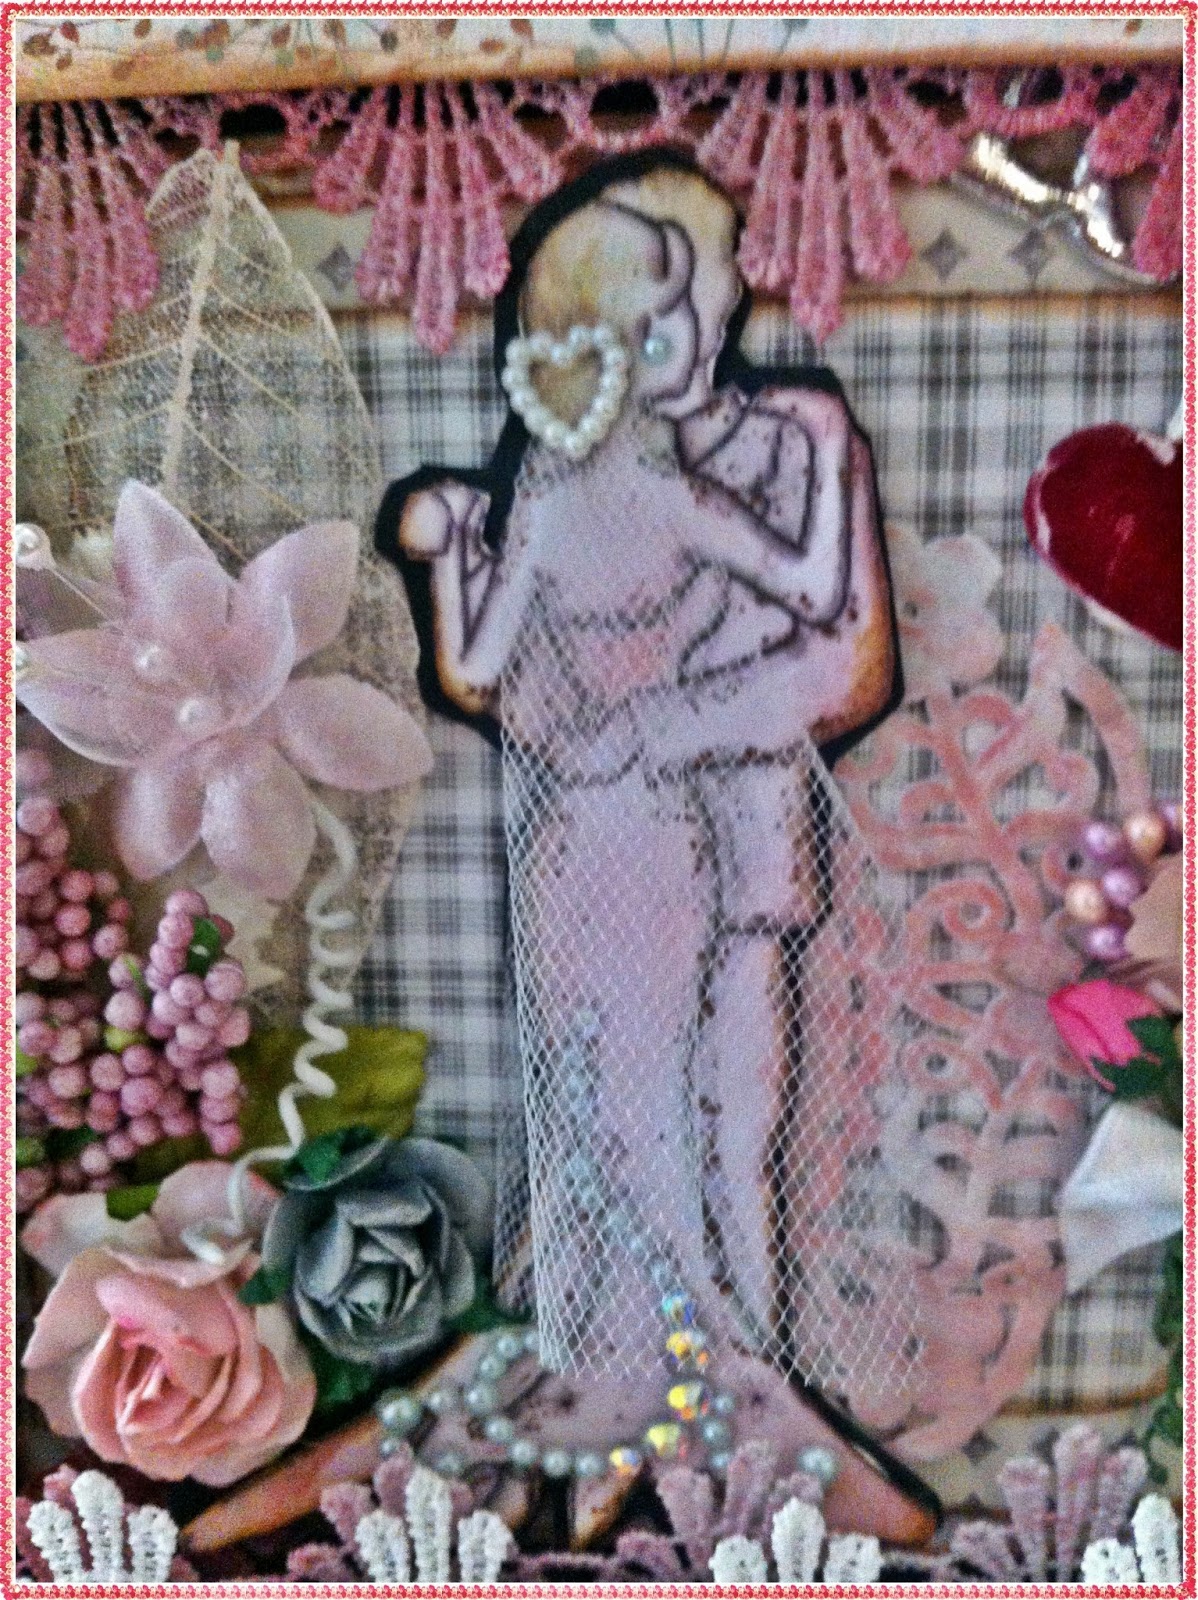
The couple image I downloaded from the Internet.  I used a black felt tip pen to emphasise the lines and inked the image lightly with both vintage photo and aged mahogany.  I added a delicate piece of  netting to act as the veil for the bride and secured it with a pearl heart and tiny pearl for her earring. 


A paper doily inked and cut so that it shows on one side only; a lovely bouquet with a delicate white bow.  That bouquet resembles her actual bouquet so much she could hardly believe it when she saw the card.  


The pink cluster is from an artificial flower and the roses and pink flower spray are from WOC.  At the back of the cluster there is a Prima and skeleton leaf, too pretty. The bling swirls on the wedding gown is from Prima too


The rosette I cut with my silhouette too and of course used the same designer paper.  I inked all the folds and creases of the box card with vintage photo and aged mahogany distress inks.  A tiny pearl in the rosette completed the look


Close up of the flowers and the beautiful lace gifted by a  friend.  I coloured the lace inside the card with glimmer mists but left it plain for the outside; looped some pretty peach ribbon through it.


A different angle of the box card

Hope you enjoyed my blog post.  

Please leave a comment and thanks for stopping by...


Friday, 23 November 2012

Runway Inspired Card

I am on a roll.............this is my second post for the day AND they are both for some of my  favourite challenges!!

This trio of Christmas / New Year cards was inspired by the image on Runway Inspired Challenge.


I wanted to stick with the Christmas theme and looking at this beautiful creation by Elie Saab I knew that traditional Christmas paper was out of the question.  So I rummaged through my papers and found some Asian inspired paper which I had forgotten about and decided to use it.


I made a trio of similar cards, all the same design but different colours...


Go check out their website!

Thanks for stopping by...


Merry Christmas Card


A warm hello to everybody, thank you for visiting my blog today.  I trust all my American friends and visitors have had an awesome Thanksgiving!  Blessings to all my browsers.

I have been busy working on my orders for Christmas Albums and have thus not entered any of my regular challenges for the past two weeks and I must share that have had some withdrawal symptoms "grin".  

So today I want to share a card I made last night to enter 2 of my most favourite challenges.  It has a distinct Christmas theme and will accompany a Christmas gift swap I am involved in; I hope you like it...


The brown and white striped paper is by My Minds Eye Peace sheet.  The red circled and the top layered paper is by Kaiser Craft and was a freebie with a magazine.  The post card, Christmas stamps and Merry Christmas sentiment is from the Place In Time Collection by Graphic45.  I used 2 crochet flowers, button by Prima while the heart shaped tag and flower die cut were gifts from a friend.The glittered heart, bling, twine, lace and ribbon from my stash.  Quick and easy!

At The Shabby Tea Room the current challenge is "tic tac toe' and you have to choose which items you are featuring in your project from one particular row - I have chosen 'buttons, sentiment and glitter'.  If you want to enter the challenge just click on their name above to be taken directly to the details on their website.


At the The Ribbon Reel the current challenge is 'crochet' - see the image below.  I love this challenge because it can be interpreted any way you choose. Just click on their highlighted name above to be taken directly to the challenge details on their blog.


I hope I have inspired you all enter the above challenges; they are awesome and so are their challenges.  Enjoy you stay and I hope to see you soon...


Thursday, 18 October 2012

Rustic Shabby Card

Hey crafters, my project  today is a card with a tag and I am entering it in The Shabby Tea Room week # 136 "rustic elegance" challenge and in The Ribbon Reel # 39 challenge "shabby naturals" challenge.  If you are curious about their website just click on their names above to go directly to the challenge.  Awesome websites people and worth the effort!


I cut the checkered bag to the desired size using decorative scissors - the twine used in the tag peeps out from the pocket as the photograph below indicates...


The Prima burlap flower was got glued onto the center part of the vintage doily - I cut out that part and the tiny roses look so pretty in the center. 


I used canvas ribbon and lace from my stash  The leaves are also old stash which I have had for a long time - they were initially used for wedding favours I had made.


Its barely visible but I used white Adirondack paint dabber on the buttons to give it that shabby look and used ivory twine for the crisscross centers.  


More views...


 The tag is quite simple to make - used the paint dabbers to shabby chic it and used the same vintage paper on the center.  


 The flowers in the center of the Jolees Boutique stickers is scented potpourri - love it!


 More views...


Products Used
brown checkered paper bag, brown cardstock
Vintage white embossed paper
Burlap, canvas ribbon, vintage crochet doily
Prima canvas flower, WOC tiny roses
Lace, WOC skeleton leaf, various leaves
Maya Road buttons and kraft tag
Jolees Boutique stickers, potpourri
Adirondack white paint dabber