Monday, 17 September 2012

Life Stories Paperbag Album

Hey crafty people, how are things your side?!  Hope all is well and that you are creating beautiful keepsakes to store you previous memories...I know I am!

For now I will be sharing my Life Stories album with you.  This album is created using the Life Stories Paper Collection by MME - I cannot begin to express how awesome these papers are!  By now you know that I love kraft paper and this range is all about that.  The quality and thickness of this paper is fantastic - right now I am trying to get my hands on the same paper stack but in a shade of green - love this paper people!

This album was inspired by Suzie from creative cafe; I loved loved making this album because it has so many different places for photographs and it has secret envelopes and nooks and crannies if you know what I mean.  Of course photographs do not always do justice to such a album and who knows I might just make a video!

Anyway on with the album...

The cover is pretty simple - the gorgeous paper, some stickers and a workable photo frame.  The binding is an old scarf and I added some brown doodads on the tassel's of the scarf - loved how it turned out!


I used the make of the paper range to name this album - "life stories" and hot glued it onto the bottom part of the binding.  The fastener is brown striped ribbon and a clip.  I punched a hole on the back album, inserted a brad and secured the ribbon at the same time.  Super simple people!


The page below can house over 7 photographs and most also have journaling spots.  See the round circle at the top of the page...it pulls out to reveal a long photo mat!  A few more photographs can be inserted into the pocket to make maximum use of this page!


The green dotted paper on the next page is not from the collection - I added it to compliment the kraft coloured and toned paper collection.  The lace lends it a softness I think and of course who does not love flowers and brads! The flap opens and the green tab is a pullout for another photo. Lots of tiny tags and journaling spots.


The next page again features the green dotted paper - a photo can slide under the circle that also acts as a journal spot. The flap opens and there is also a secret envelope behind the numbered journaling spot.


I love the page below and it has my favourite brown checkered envelopes that I so love using in my projects.  Lots of tiny tags again and can house over 5 photographs.


The next page is awesome - the flap opens to reveal a more photo mats and journaling spots - see the additional images for detail.


The above page is my favourite - I just love how it opens to reveal mats for 3+ photographs.  Superb!


The next page also has a green tabbed pullout for a note or date, the flap lifts up and down and can house so many photographs and notes.


The image above is the final page at a glance.  The flap lifts up to reveal more space for photographs - plenty of real estate in this album.  The image below shows the flap open.  Did I mention I love tiny tags??!!


This paper collection is fabulous people!  I don't know if its still stocked but I loved the texture, the thickness and the quality - perfect! 


The back of the album - simple!

Hope you felt inspired....please leave a comment!

Thanks for stopping by...


Wednesday, 12 September 2012

Vintage mini shadow box

Hey crafty people...today I want to share with you a recent project...

I created a mini shadow box within a box using my cameo.  As you all know I won the cameo and was over the moon - not only because it was a CAMEO but because I had never won anything before so YAY for me !!!

I cut the box design on dark brown card stock -  cut it twice for extra strength and of course attached it with double sided tape.  The picture below is the box at a glance..


The image below is a close up of the cover of the box...


I used paper from the Prima Printery collection and plenty of flowers by Prima, WOC and IAR   Black soot and brushed corduroy distress ink was used for this project


The antique looking leaf in the corners are by Jolees Boutique.  I cut in half a black lace blingy type flower from my stash and stuck it under the beautiful Prima roses for additional effect  I made the white beaded string myself with glossy accents, clear jewelry string and small plain white beads


I hot glued this beautiful black lace on the cover - it is not stuck down and can also serve as a pocket for a note or a trinket or little tag etc  I randomly added some peach pearl beads for additional effect


The above image shows the inside of the box  Lovely black lace lines the  "shelves" on either side


I used the same black lace for the inside of the lid and as the image shows, it also acts as a pocket  The crown tag is from the London Market collection  The chipboard butterfly is by Prima and I adhered black blingy flowers to the creme lace flowers


I chose the crown tag to match the crown trinket I have in the bottom left section of the box; a cameo photo image on the wall, some dark navy blue roses tied with creme seam binding and a heart trinket, and a Tim Holtz hanger complete that section


The big creme flower I bought at a home decor shop and its perfect for this box.  On either side there is a black sandal and a bag to match - on the 'floor' of the section is the other half of the black lace blingy type flower I used on the lid


On the right side..on top... I have a black flower that looks incredibly like a hat - has beautiful gold edging.  Also some beautiful lace from WOC.  The bottom section boasts a Melissa Francis vial with gold beads.  Next to that is a black cotton reel and a Bo Bunny trinket on the wall - super cute right?!


I threaded some jute through the holes in the black lace and adhered to the sides of the box...for that final touch I added some flat back pearls 


I hot glued a brad in the centre of the box, looped some jute under a flower and that acted as my fastener - super simple ladies.


So that's it for my box; my daughter's friends are coveting the box so I will be making 3 more very soon - order from them :-). 

If you are interested in making this project for yourself send me a PM.

The kit includes the box - cut and scored; the paper, the flowers, the lace, brad, jute, everything you see and PDF instructions.  It's a fun project and I can also supply a kit in a shabby chic style

That is all for now ladies, hope you are all crafting away...leave a comment and come back soon!


Atlantis Layout

To me Atlantis is and will always be one of my best memories of living in Dubai.  I often contemplate how lucky we are to be able to go there anytime we choose and of course the weather is always perfect for it!

Last year December we did not go home as we always do but instead had Jessica and Matthew visiting for a few weeks and what fun family time we had!  Of course Atlantis was on the outing schedule and the images in my layout show how Michael captured the girls kissing Lisa the dolphin.


I used a 12x12 sheet from the Tradewinds DCWV paperstack.  This paper is awesome and so versatile - see how perfect the  design on the paper is for a water themed layout!  


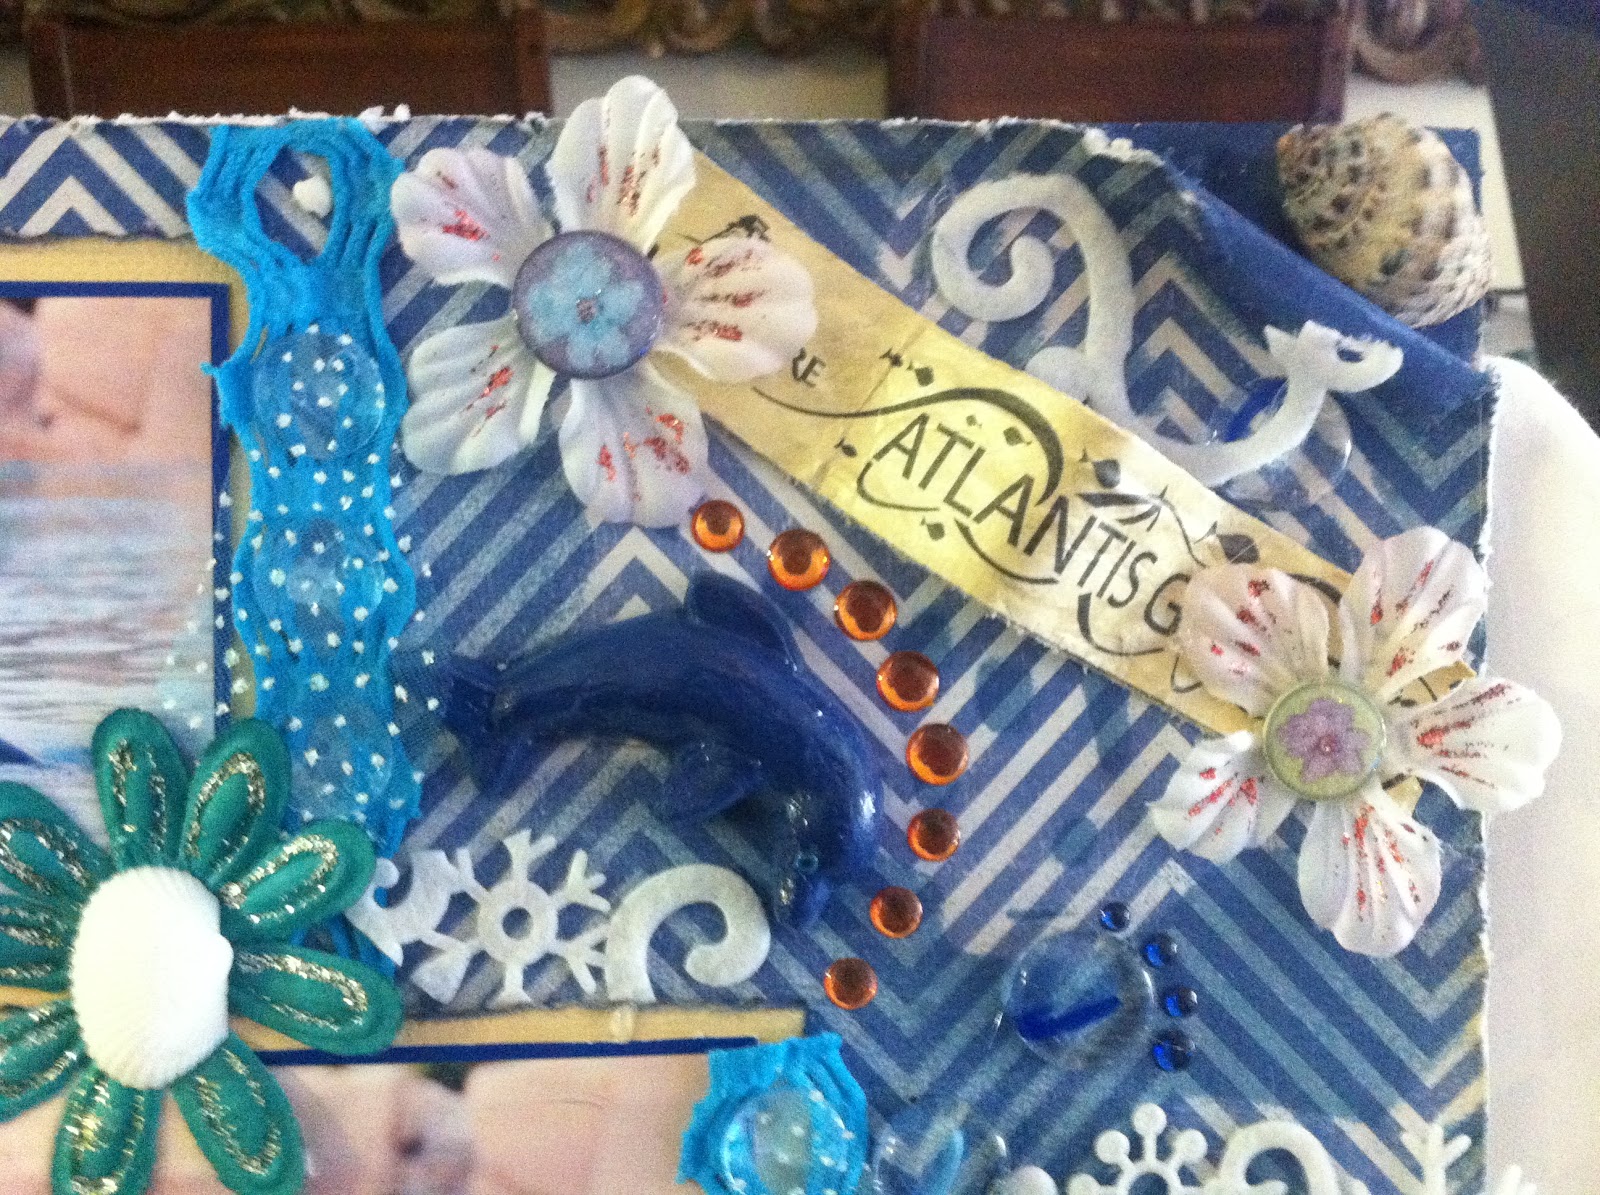
The images were glued down onto blue cardstock that was matted onto a beigy cardstock.  Each image was surrounded by flowers which was glittered and inked.  I placed a K&Co bauble in the center of each flower.  I embossed and glittered the flower that has the shell in the middle.


I used the actual visitors wrist band you receive to suffice as the title of my layout.  Lots of felt swirls and twirls to symbolize water.  I painted the right hand corner of the chipboard blue, rolled back the paper, dabbed some blue paint on it and secured with glossy accents.  A shell in the corner completed the look!


Each image was cupped by a K&Co glittered leaf embellishment.


On the right side of each image I secured 3 pale blue stones onto blue lace.  I cut a strip of blue glittery almost transparent type of material I have in my stash and covered the stones with it - I secured it with a white glittered flower.  The effect is almost coral like and really pretty to see!

'
A while back I had bought a few white ceramic dolphins; I had intended to decorate my guest bathroom with it and somehow it traveled with my stash to Dubai.  I painted it with blue acrylic pain, used glossy accents and tiny blue bling for its eyes.  Bling and gel swirls around it create the illusion of movement.


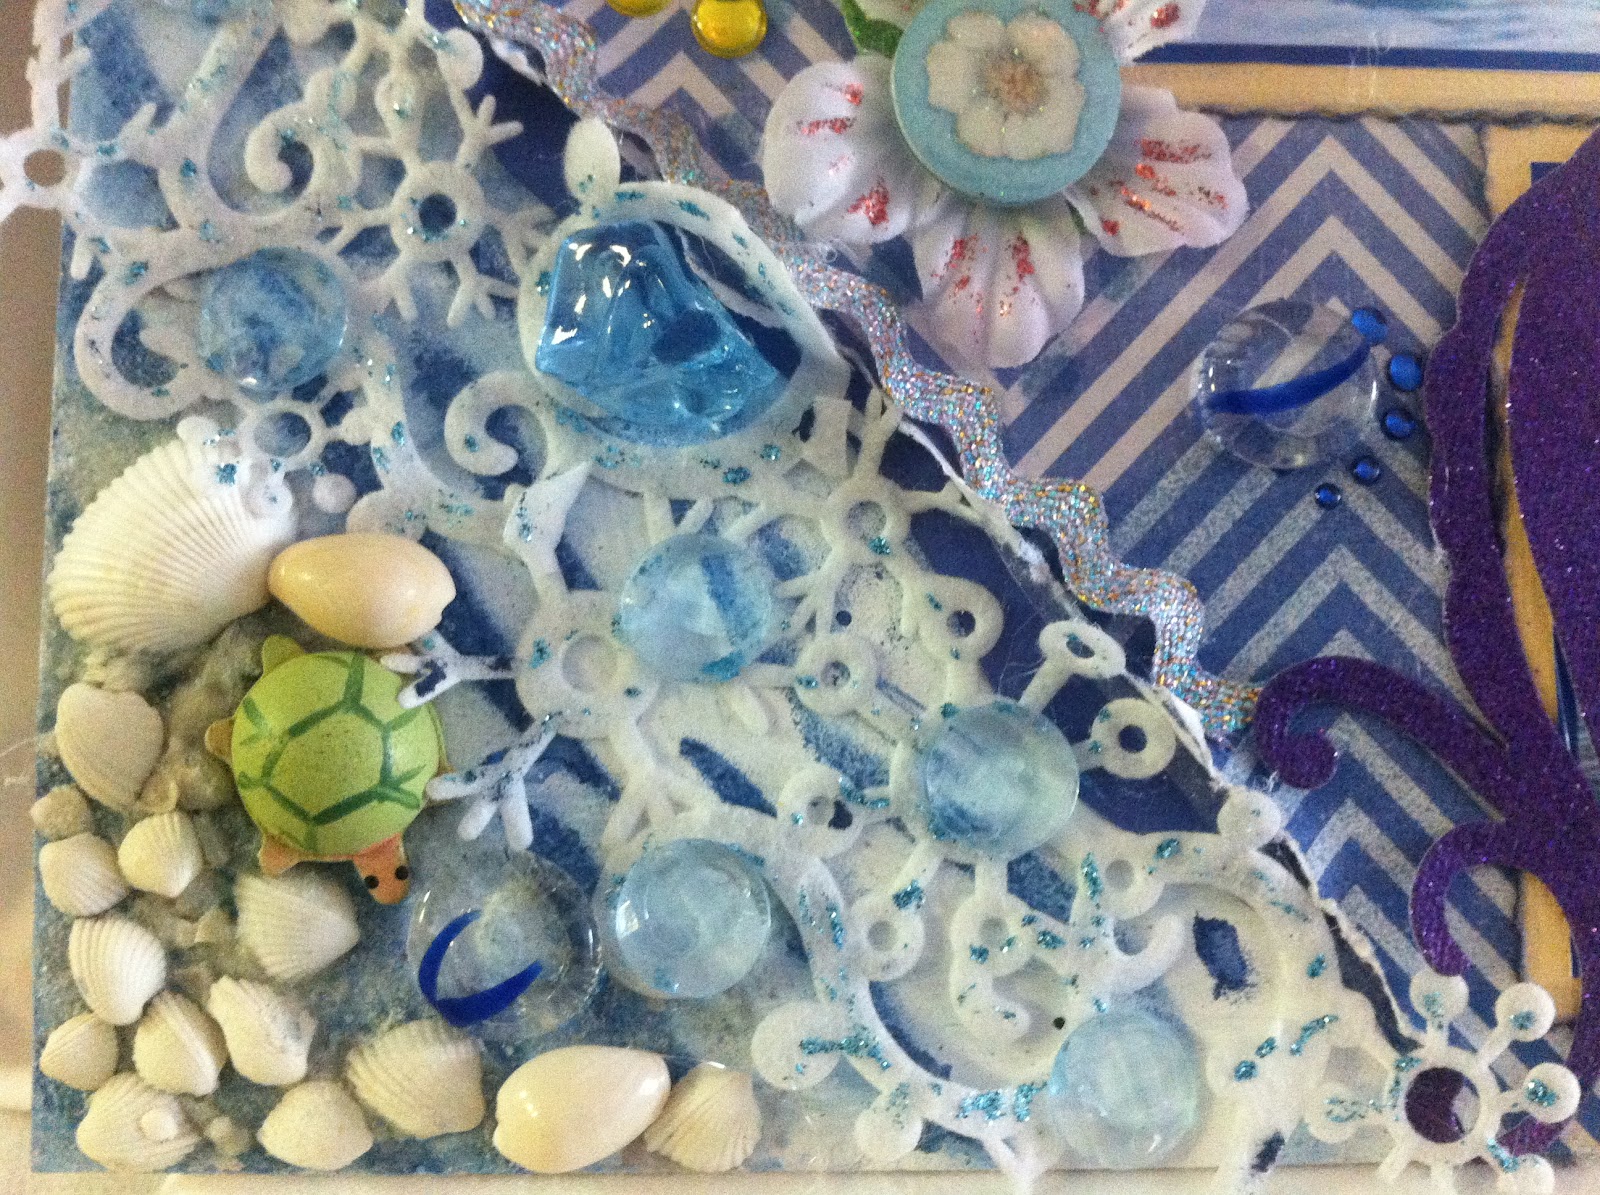
I love the effect I created as shown in the image below.  I cut the paper at an angle, distressed the edges and turned it up slightly.  I glued down some glittery blue/green/orange.brown ric rac trim on the edge of the upturned paper.

Next I painted the chipboard with white acrylic paint; when dry I randomly finger painted with the same blue paint I used on the dolphin and top corner.  When dry I ran my glue stick over the painted area and drizzled some actual sea sand onto it.  I then adhered the white felt trim to create the illusion of some wave foam and randomly placed pale blue stones on it.  Next a cluster of shells and a sea turtle as a final embellishment!  


I love love this layout - not only does it remind me of the fabulous time we all had together but I totally stepped out of my normal layout routine, used different techniques and used non scrapbook embellishments - awesome effect!

I used this layout as a Paper Lane challenge.  Besides the obvious non scrapbook embellishments, everything I used on this layout was bought at Paper Lane (click on the name to go directly to their blogspot).

Paper Lane is the largest scrapbooking store in Dubai and stocks everything you can dream of - the staff is friendly, the owner awesome and it boasts some really talented ladies on the design team.  I am blessed to be part of the design team.

I hope you enjoyed my project and i hope you can find inspiration to try something different on your next  layout.  Thanks for stopping by and do leave a comment...


Monday, 10 September 2012

Altered letter for Irene

I wanted to make something special for Irene so I went through her blog posts to get an idea of her favourite style and colours she likes to use. She is such a talented versatile crater that I ended up calling her to find out her favourite colours *smile*....her reply?....red, pink and blue!

I decided to gift her an altered letter I decorated with her favourite colours so that she can hang it at her craft space.  So without any more babbling from me, here are images and detail on how I embellished it!


I purchased a letter "I" made from pressed chipboard at a local art store; painted it with white acrylic paint and sealed it with satin mod podge.  I had bought a mixed bumper paper pack of 12 x 12 sheets at Paper Lane a while back and - this strip was all I had left from a previous project so I cannot tell you which collection its from...it suited what I had in mind perfectly.  I inked it with aged mahogany distress ink and then glued it down.  


The top has flowers from IAR and Petaloo - there is a tiny pink butterfly in the white flower.  I used blue seam binding for the bow and looped plain red satin ribbon at the back.


The acrylic butterfly is part of a decoration I bought from a florist who was going out of business - I cut what I wanted - selected two acrylic circles above the butterfly as well and secured it under the red flower with hot glue.  The butterfly is not glued down.


With the patience of a saint I used glossy accents and tweezers and adhered the red bling individually. The white little leaves is part of some lace I have; I cut them individually and adhered to the letter.


Here you see some red lace from my stash; the white leaves inked with chipped sapphire distress ink and pink spray are from WOC and the stickpin I had made myself.


Some beautiful blue iamroses - just love the little butterfly compliment!


I hot glued pink flower trim all around the letter and draped blue beaded spray around the letter for extra detail.  See the bottom two photos too.


I did not cut the blue beaded spray; instead I draped a length around the letter - love how it turned out!


The tiny butterfly on the spray was perfect!  Irene loved her gift and I enjoyed making it for her.

Cant wait for our next get together Irene...hugs

Friday, 24 August 2012

Gift Swap

Dubai is truly an amazing city to live in; I am blessed to have this experience. For me one of the great things about Dubai is the concoction of nationalities - here we all live in harmony while we work relax and play.  It's in that mix of play that I met, at a scrapbook workshop by the talented Iris Babao Uy, a most awesome lady named Irene. We have been buddies ever since.  She is an amazing person and in a city where people easily get caught up in the glitz and the glamour; I am blessed to have found a friend who is as awesome as she!

We meet for lunch, we catch up and as scrapbook enthusiasts we shop for yummies together.  When we meet we have always have a goodie swap and with our last time together, we also exchanged gifts we had made for each other.

Here is the absolutely stunning gift she made me:-


She embellished a clay pot with gorgeous lace and pearls and if that was not enough, the pot was filled with an array of beautiful paper roses!!!  Am I lucky or what??!!


Check out that gorgeous lace people!!!  The pale peach flower above as a focal point is absolutely stunning - I just love it!!!  Perfect colours, textures and embellishments.


Here is a link to her blog where she describes how she turned out such a gorgeous gift - while you are there check out her talent, I just love her work.  

http://i-createcardsandcrafts.blogspot.com

Thanks again Irene; hugs