Tuesday, 2 October 2012

Washi Tape Project


Have you ladies stepped outside your usual wash tape usage???  I tried to think of something easy and simple to do with washi tape and came up with this incredibly simple project..........

 A container for my glitter pens!!!


All the flowers on the container I made with washi tape.  I also ran the tape on a curve around the container.


Items you will need:
unused container
(I used a beverage container with the inside removed)
plastic container
A4 sheet of copy paper, washi tape
buttons, lace, scrap piece of paper
scissors, circle punch
bone folder, scoreboard
glossy accents, glue or glue gun


To create your washi tape paper line the paper with strips of washi tape until its fully covered.  Make sure the edges of your tape meet up perfectly and where there is a pattern try to line it up as best as you can.


To make the flower:

- cut a 1.5 inch strip of the washi tape paper you made
- scored the strips at every quarter inch (I used my Martha Stewart scoring board)
- using an accordion style fold on each score line - use your bone folder
- join the two ends with adhesive of your choice (I used glossy accents)
- using a scrap piece of white paper punch a circle with your circle punch
- place some hot glue on the circle
- bring the center part of your scored paper together and adhere to the punched circle
- hold down onto the hot glue for a bit and release

- adhere the buttons to the center of the flower with a glue gun or any adhesive of your choice.


The paper is quite sturdy once you have lined it with strips of washi tape.  I put my paper in my cameo and cut the delicate dress form, the Eiffel tower, the swirls and the delicate doily in the images below


I hope I inspired you to give it a try - it is very easy to do!  Plus you are also AND you are making a very pretty item to line your craft shelf!

Pop into Paper Lane...they have a variety of washi tape at very affordable prices.  

See you there...Janine

Monday, 1 October 2012

Summer Banner and Goodie Bag

My daughter loves banners, we make them throughout the year even when it is time for her to write examinations at school. So it was a natural inclination to make a summer banner to string against the wall in her bedroom.

I used the vibrant Paradise Beach papers by Echo Park for these projects. They are so colourful and easy to work with.  This project is so easy ladies really I am not joking; anybody can do this and your children will love this fun banner in their bedroom.  Everything I used and more, to create this banner, can be purchased at Paperlane. Here is what you do...

- cut out banner shapes (I used my Cameo)
- ink the edges with distress ink (I used chipped sapphire)
- punch circles with a circle punch - for the front and the  back
- punch a hole in the circles (I used my crop-o-dile)
- line up 2 circles, insert  a eyelet and secure (not too tight - you need to move the banner shapes)
- press lightly all over the banner with paint dabbers (I used white and pool colours)
- decorate with flowers, Echo Park stickers, chip board and other embellishments
- the 'summer' sticker is by Jolee's Boutique
- thread ribbon through the first eyelet, around the back and into the second eyelet
so that it can be hung against a wall
 "finish"


That is all there is to it ladies; just do it, its easy and your children will love it!!

The second part of this project is a 'summer goodie bag'.  My daughter is away but had she stayed in Dubai for the summer vacation I would have made this goodie bag for her and filled it with coupons and tags that would hold various acitivities for her to do. 

I used a yellow paper bag and decorated it with some pom pom trim, flowers and brads. Take a look at the photos to see what I mean...


Again ladies all the papers are from the Paradise Beach paper collection and the alphabet and stickers are part of the Echo Part range. Ribbons and little balls used on the tags are from my stash.


I punched a hole on one end each of the bag and ran some yellow checkered ribbon to function as a handle on the paper bag.  I punched some butterflies and glued them on the ribbon; take a look...


Who would not love a goodie bag filled with outings, ideas and treats??!!  So go ahead, pop into Paperlane's awesome store, pick your papers and embellishments and make a banner and a goodie bag!!  And don't forget to post your pictures, we would love to see your creations. 

I hope I inspired you to make some summer projects!  Take care and 'see' you on Facebook...Janine

Sunday, 30 September 2012

Goodie Box for Secret Sisters Swap Group

Hi all, I recently started a swap group in Dubai and our second swap, which I hosted on Saturday 15th September, was a goodie box swap.  Rules of the swap was to buy 5 new items not exceeding the agreed amount and to fill the rest of the box with goodies from your stash.  I loved how my box turned out and took some photographs which I am sharing and detailing in this post...enjoy


The image above is my box at a glance...went for a slightly vintagy style but wanted to make it unique and also suitable to be kept in a craft room or space to store craft stash


I cut the delicate flourish and September calender month and wording with my Cameo, ink distressed it, embossed it and stamped it with a script stamp. I love the effect the layering of the Prima flowers on the flourish!!!


The dress form was also cut with my Cameo and I embossed it with copper powder.  I bought the vintage looking doily at a thrift shop and cut it to the size as indicated on the box.  Under the doily is really pretty green lace and on top of the doily is a brown lace flower.  Gold butterfly is a button by Bo Bunny and of course the rose and flowers are by Prima.  The 3 paper roses on the side was cut with my cameo and I dabbed it with white acrylic paint for additional effect.


Layers of lace, ribbon and flowers - love the gold corner embellishments I used on this box.


Layers of flower clusters fill this corner of the box and that awesome butterfly is yes...you guessed it...cut with my Cameo; it is so pretty.  I inked and glittered it and placed some bling on the wing.


Again the image above shows layers of lace and ribbon and  layers of  clustered flowers - so pretty; all kinds of different matching  flowers I found while rummaging through my stash. Under the flowers is a lace   doily I cut with my Cameo and at the back of it is a flourish and a wooded ticket - love the effect!!


Flourish frame, scissors with wording all cut with my Cameo.  I traced the shape on a sheet of Prima Printery paper and adhered the tow together with glossy accents.  Under the flourish frame I glued 4 buttons to give the illusion of 3D effect for this centre piece.


Views of the different sides of the box - as you can see I just ran some lace around the bottom.  I bought the box as is and I loved the vintage look of it and therefor did not cover it with patterned paper.


 Filled with yummies...of course I went over board as usual but the pleasure is in the giving right??!!

There is a page on my blog dedicated to the swap group; click on that page to see images of the other goodie boxes.

Thanks for stopping by and please leave a comment...


The Shabby Tea Room - The White Challenge

I have recently taken to entering challenges and I am simply loving it!! I have not won any challenge yet but as I said I have just started....so watch this space "grin"

I also love shabby chic; it is, like for so many others, my favourite style to craft with. When The Shabby Tea Room posted their White Challenge I knew I had to enter. 

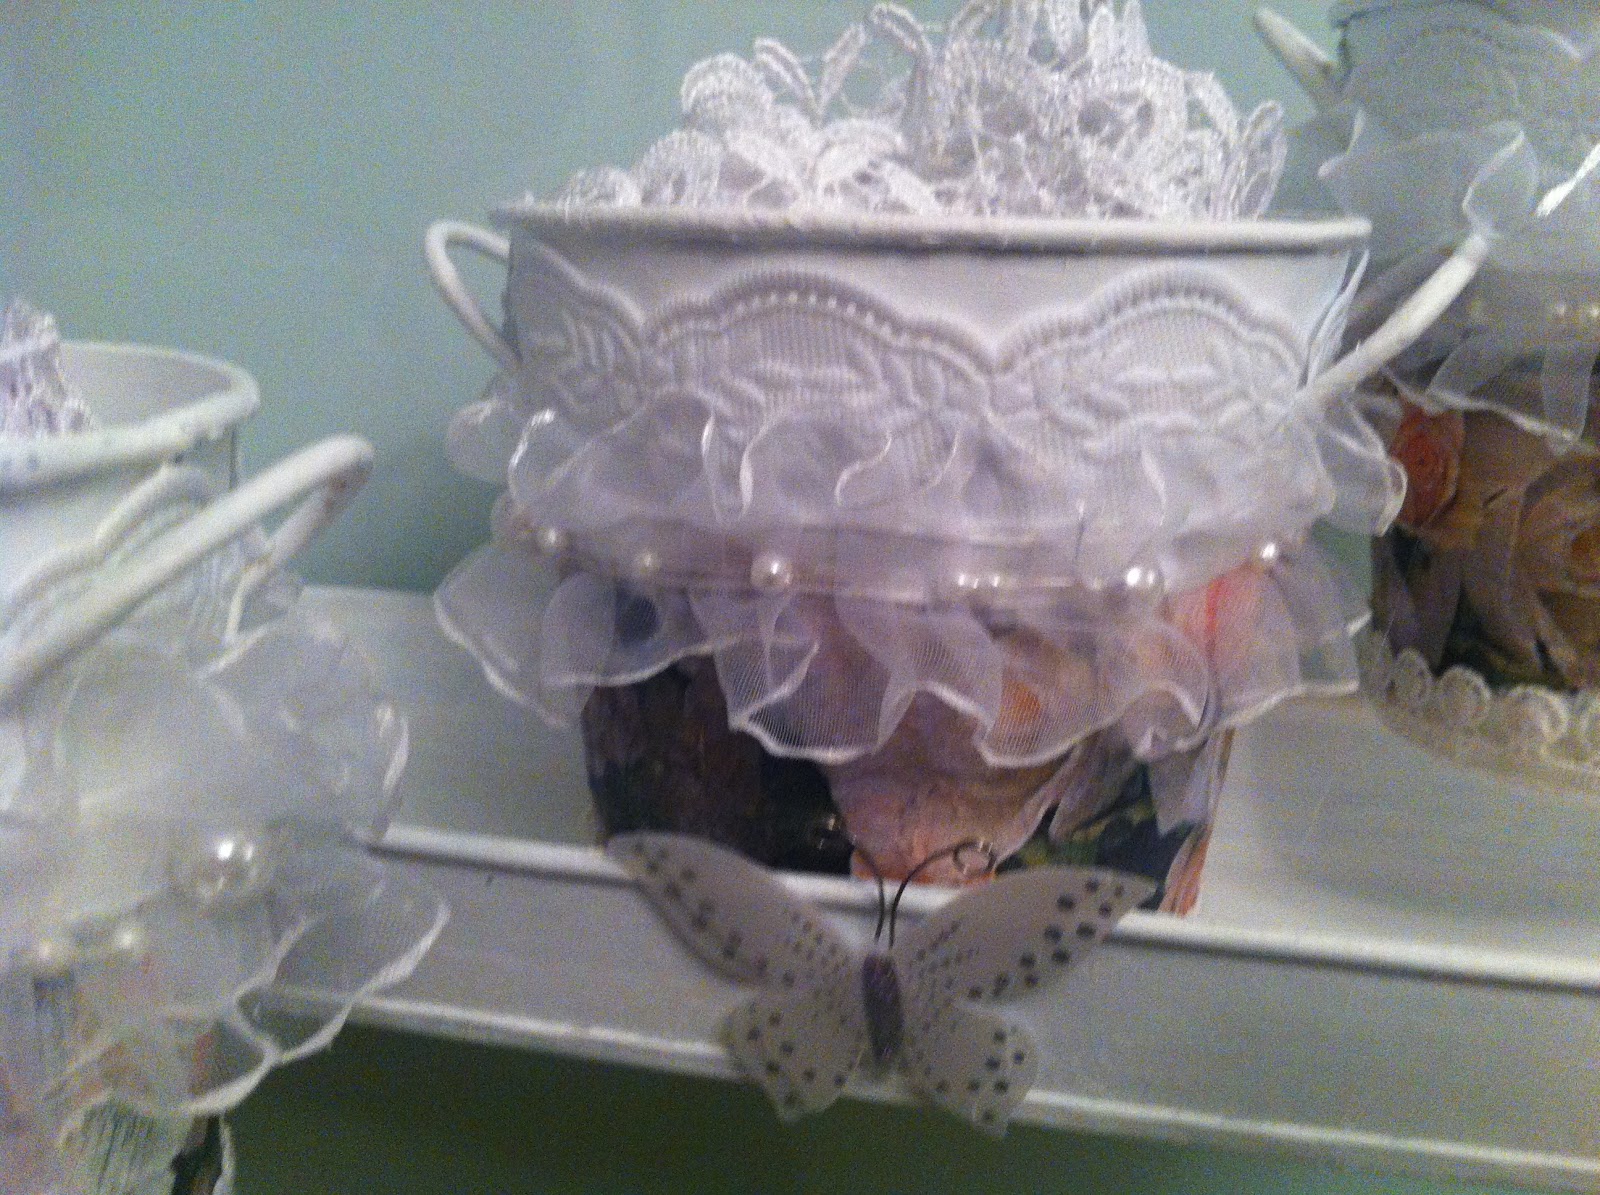
I altered 3 aluminium herb pots on a tray............I hope you like the way they turned out...


I cleaned them and painted them with white acrylic paint quite a few times. I decoupaged beautiful rose paper serviettes onto the pots with mod podge. 


As you can see I intend using them to store some of my really precious white laces!  The white butterflies are from 3D Accents and are so perfect for this project.


This beautiful delicate ruffled lace was gifted by a friend of mine - thank you Irene! I ran a white beaded string around the pot too and I love how it gives it that something special!  


The intricate lace around the bottom of the pot was gifted to be by another very special friend of mine - thank you Swati!  It completes the look of the pots don't you think??!!


 Different angles......just love love the soft effect crafting with white creates!


These are my favourite views......


Images of the paper serviettes I used - really pretty don't you think??!!

And finally this is more or less what they looked like to start of with............


Hop on over to the shabby tea room and see the beautiful white creations that so many talented ladies have submitted for this challenge!

Wish me luck...........


Thursday, 27 September 2012

OUAS - September Challenge # 3

Once upon a sketch has some awesome challenges and even though I am a regular browser there, this is the first time I am entering one of their challenges.  There is usually a challenge a month but for September there are four AND they are teaming up with CSI - hop on OVER and take a browse...the challenge closes on 1 October so there is still time to enter - visit the website for exact details.

Here is the sketch and the information regarding the challenge:

For this challenge you must use:
the SKETCH provided
all the colours in the SCHEME
at least 2 elements from the EVIDENCE
at least 1 element from the TESTIMONY

From the EVIDENCE I used trees/branches, birds, flowers, pet accent and wood grain.   

From the TESTIMONY selection I chose to use some of wording from the lyrics of the song Easy by Lionel Richie; felt it suited the image perfectly!!!

MATERIALS USED:
Pizza box
Martha Stewart satin acrylic craft paints
Adirondack paint dabbers
canvas burlap and netting
various distress inks
MME Miss Caroline 6x6 paper pad
Patterned paper from K&Co Susan Winget Speciality Pack
Prima roses flowers and leaves
Petaloo brown flower and leaf spray
Die cuts - birdcage, grass, fence, rolled flowers (gifts)
Cameo - 3D flower and lace rosette
Brown leaves and images - my stash
7Gypsies loop and Hooks, green brads
mouse, bird and kitty foot prints - the Internet
Glossy accents and glue gun


I cut my corrugated board to size, tore of the top layer and applied Gesso to prepare for the painting.  I used Martha Stewart's satin acrylic craft paints - these paints are stocked by Paper Lane; in fact everything I used on this layout I bought at Paper Lane. Paper Lane is the largest scrapbooking store in Dubai - you can find them on Facebook too; please click on their name to be taken  directly to their blogspot!


I cut the 3D flowers on craft card stock with my Cameo - the design is by 'A Little Hut'.  I inked them slightly and dabbed with the dabbers!  I love that mouse and it fits perfectly on the piece of net. Can you find the other mouse on my layout?

The house/pond image was part of a freebie from a card making magazine.  I fussy cut the piece I wanted , inked the edges slightly with walnut stain and finally applied glossy accents on focal points.  

All the die cuts used on this layout was gifts from a dear friend (I do not own a die cut machine!!!) so I cannot provide that details but if you want to know message me and I will happily provide them. Words are from the song and I used my laptop to print them.

The flower rosettes I also cut with my cameo and it received the same ink and paint treatment.  The grey flowers and green rosettes are by Prima - I used the white dabber on them for extra definition.  I love how they turned out...love the colour combination and paint effect!


I trust you can see the burlap where the roses are??!!  I used Gesso to secure it onto the corrugated board and left it outside on the balcony for the rest of the day to dry completely; the weather in Dubai is perfect for that :-)


I used two bird cages - they were both initially cut from white card stock so I left the bottom one as is.  The second one I coloured with various inks and stamped it with a script stamp in black soot distress ink.  I used 2 bird images too - fussy cut them and glued them together.  I cut off the door of the white cage, secured the bird and adhered the second bird in a suitable position. I adhered a hook and loop, pierced a hole at the top of the bird cage and 'hung' it on the hook - super cute!


Just some detail on the paint work on the corrugated board - I love painting with several colours at once!


A close up of Mathew our beloved cat.  I bought this hat for an album I want to make and my daughter spotted it on my craft table and suggested we take a photo of Matt wearing it.  He was not impressed but he has great tolerance of my daughters and me especially.  Three years ago my daughters found Matt at the dumpster area of the apartment black we live in and he has been part of our family ever since.  Needless to say he is quite spoilt , fussed over and loved beyond measure!!  

When she viewed the photo on my mobile, my youngest daughter Hannah remarked "he looks a bit gay mommy" - I laughed at the time but when I browsed the OUAS challenge blog and saw that there was an option to accent a pet I immediately thought of this photograph - so bring me some luck Matthew...meow!!