Tuesday, 13 November 2012

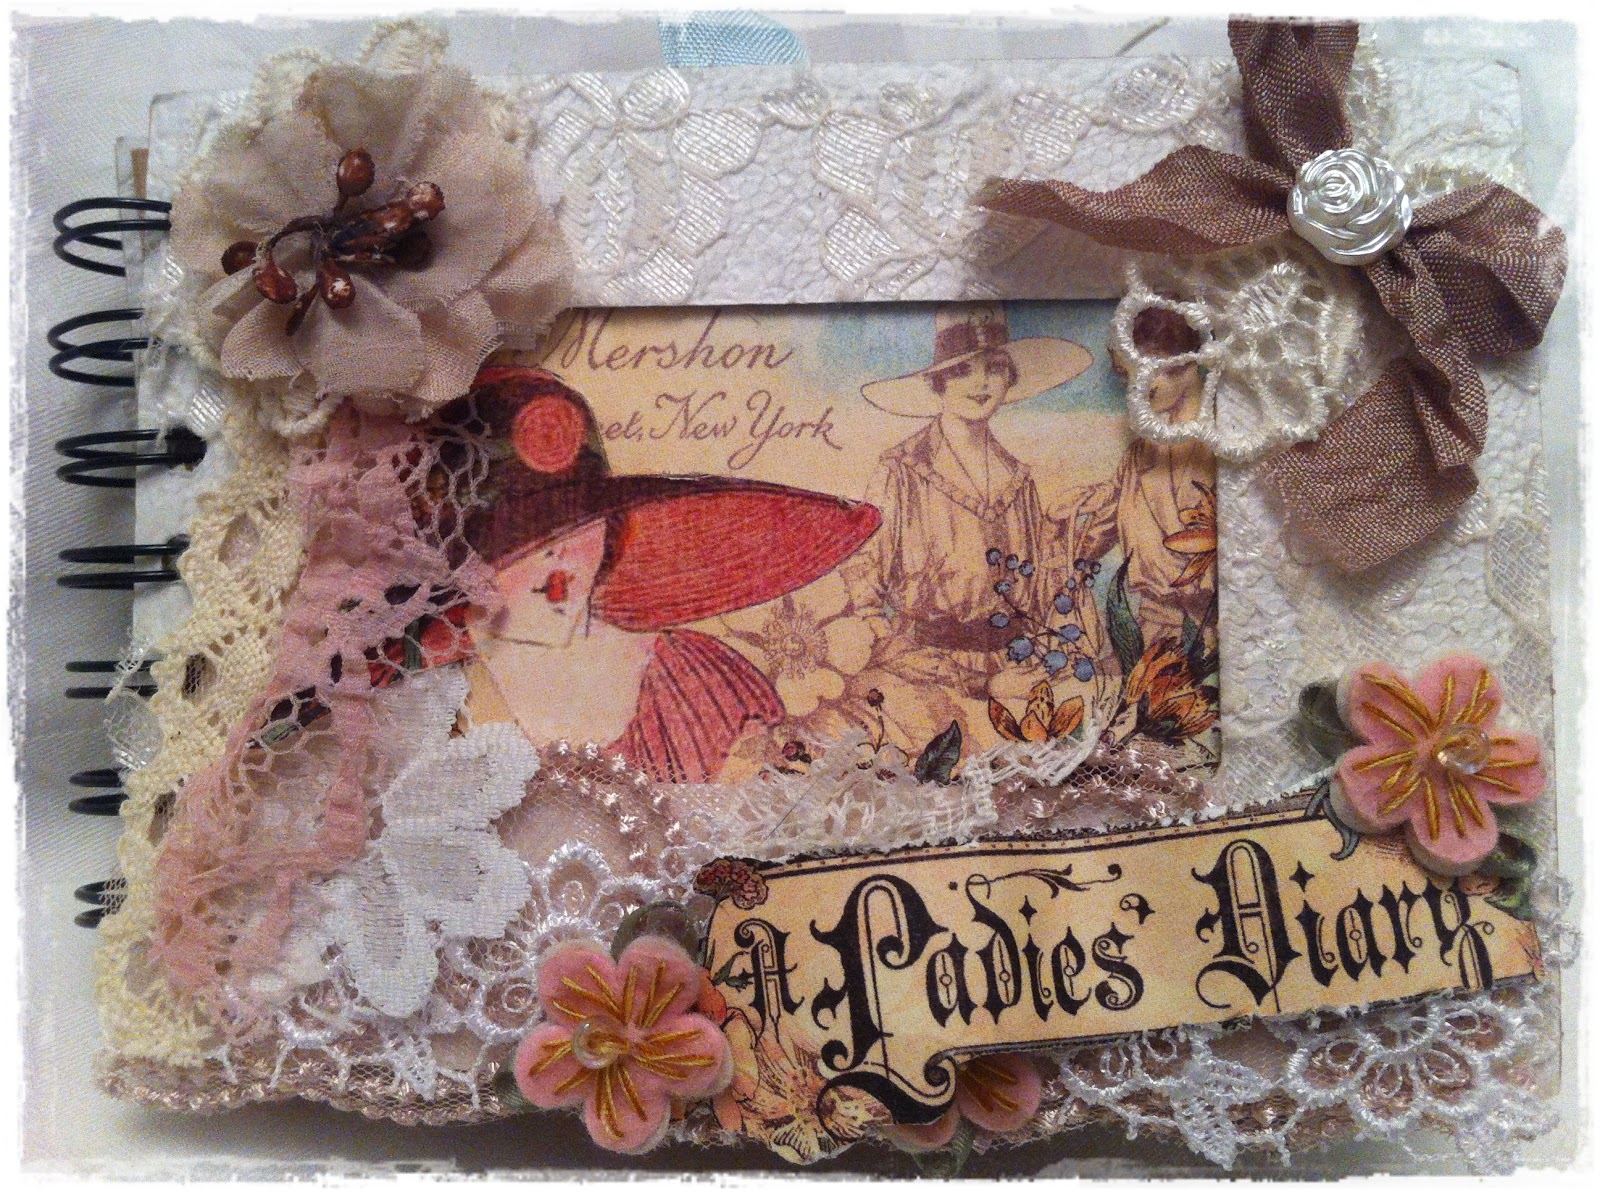
A 'Mini' Ladies Diary

My daughter gifted this mini journal to a friend and it was part of my mother/daughter journal project.  It is soft, feminine and unique.

Beware..........photos overload and features only some of the pages "grin"...


Friday, 9 November 2012

Fascinating Fridays

On Fascinating Fridays today we are featuring the uber talented Donna Espiritu!!  Just click on the link below to learn a bit more about her...

Fascinating Fridays

Donna designs for 10 digital designers and for the local Pretty Paper Studio.  I just love her unique way of totally utilizing patterned paper - her vision and detail is extraordinary and her creations are unique with its attention to detail and design. 

Her blog link is My Scrap Box


How gorgeous is her above layout!

Pop and over and give her some love...


Saturday, 3 November 2012

Fairy Tag

Hello blog visitors, hope you are all having a fabulous weekend; I know I am. Saturdays are my favourite crafting days and I most definitely find myself in a tag mood this weekend!!

Over at The Shabby Tea Room this week they have a "hey pumpkin" challenge.  The colours of the challenge is awesome..................take a look at this inspirational image.....isn't she just gorgeous??!!


I made what I call my "angel tag" and I have a specific friend whom I intend gifting it to; she was one of the first friends I made here in Dubai; she is from Jordan and she totally loves angels.  So without further ado..........here is my tag...........


This tag was made from bits and bobs.  I used a ranger tag and covered it with paper scraps.  A script stamp using black soot and Victorian velvet distress ink...I fussy cut the butterflies that came with the image, applied glossy accents, some leftover bling and a small square of net behind the fairy image.  A Tim Holtz pin, a gold lock and key and awesome burnt orange fibre wool.


The angel is an image I downloaded off the Internet; used glossy accents to highlight her bodice and the rose in her hair.  The wings are from a last year Xmas flower - used silver glitter on the borders and adhered to the back of the image  Random feathers, sticks and flowers completed the look.


Here the tiny gold key tied to the end of the fibres is clearly visible.  Used a different type of netting to create a V to insert a poem and adhered artificial Xmas leaf bits to secure the opening for the poem insert.  


The insert is a fairy poem.  Left over laces decorate the edge of the tag and another different type of dotty lace dangling down completes the look


Back of the tag and poem insert on the right


No poem insert Tag only!


Poem insert - found the poem on the Internet, cut it to size, inked the edges and adhered to...

.
..Prima packaging.


A final look at the front of the tag...


...the back of the tag with poem insert secure in the V shaped netting...


I hope you like my tag and mostly I hope my friend will like it too!!

Thanks for stopping by.........

Butterfly Tag

Hello crafty people and welcome to my blog.  October has flown by so fast and I cant believe in less than two months it will be Christmas.  I love Christmas and my mind is full of gift ideas for family and friends; so do remember to come visit my blog during December to see what I have been up to!

In this particular post I wish to share with you a tag I created to enter The Play Date Cafe challenge and I plan to gift it to my eldest daughter. The PDCC has some awesome challenges; just click on their name above to be taken directly to the challenge on their blog.

Here is the inspirational image...........


The suggested colours are:
Cinnamon ... Squash ...Vanilla ... Sage

Here is my tag..........................


I created my tag using a cereal box and the paper on both sides is from the Glitz Pretty in Pink 6x6 paper pack.


I just love this butterfly and felt it matched the colours suggested for the challenge perfectly!


This mini envelope has a special note inside; I used a script stamp, secured a purple dragonfly button on the flap and distressed the edges with walnut stain distress ink.


See how the envelope slips out. The weight of the button helps keep the flap of the envelope secure and is secured on the flap only thus it in no way interferes with the opening and closing of the envelope. It slides in smoothly and I love how the flower in the corner just blends in with the flower cluster on the tag when secured in place.


The flower flourish was cut with my cameo and inked with walnut stain. Awesome white lace and pearl centers were purchased from local suppliers.  The delicate white lace on the bottom was part of a RAK from a very talented lady.


Close ups........


 Hope I inspired you to join the challenge!!

Thanks for stopping by................