Wednesday, 9 January 2013

Wedding Card

I made this wedding card for a dear friend and really wanted to do something different although staying with a wedding theme.  My friend is very traditional and if I had created anything out of the ordinary I would have received a "oh how nice" response :-).  

When I gave her the card it was just the response I wanted!  So she loved it, I loved it and I hope you love it too...


I cut the box card with my cameo silhouette - a shadow box card designed by Alaa' Studio.  I used black cardstock for the cutting and did another cut with the designer paper.  I cannot remember the paper range but it was exactly what her wedding colours were - pale peach, creme and grey.  It was an older range too and very pretty.  


Its not too visible but if you look past the heart to the back you will see 3 layers of paper - these layers are squares of Pion paper inked with aged mahogany distress ink. The heart is outlined with perfect pearls and above the heart is the word love spelt in silver letters.
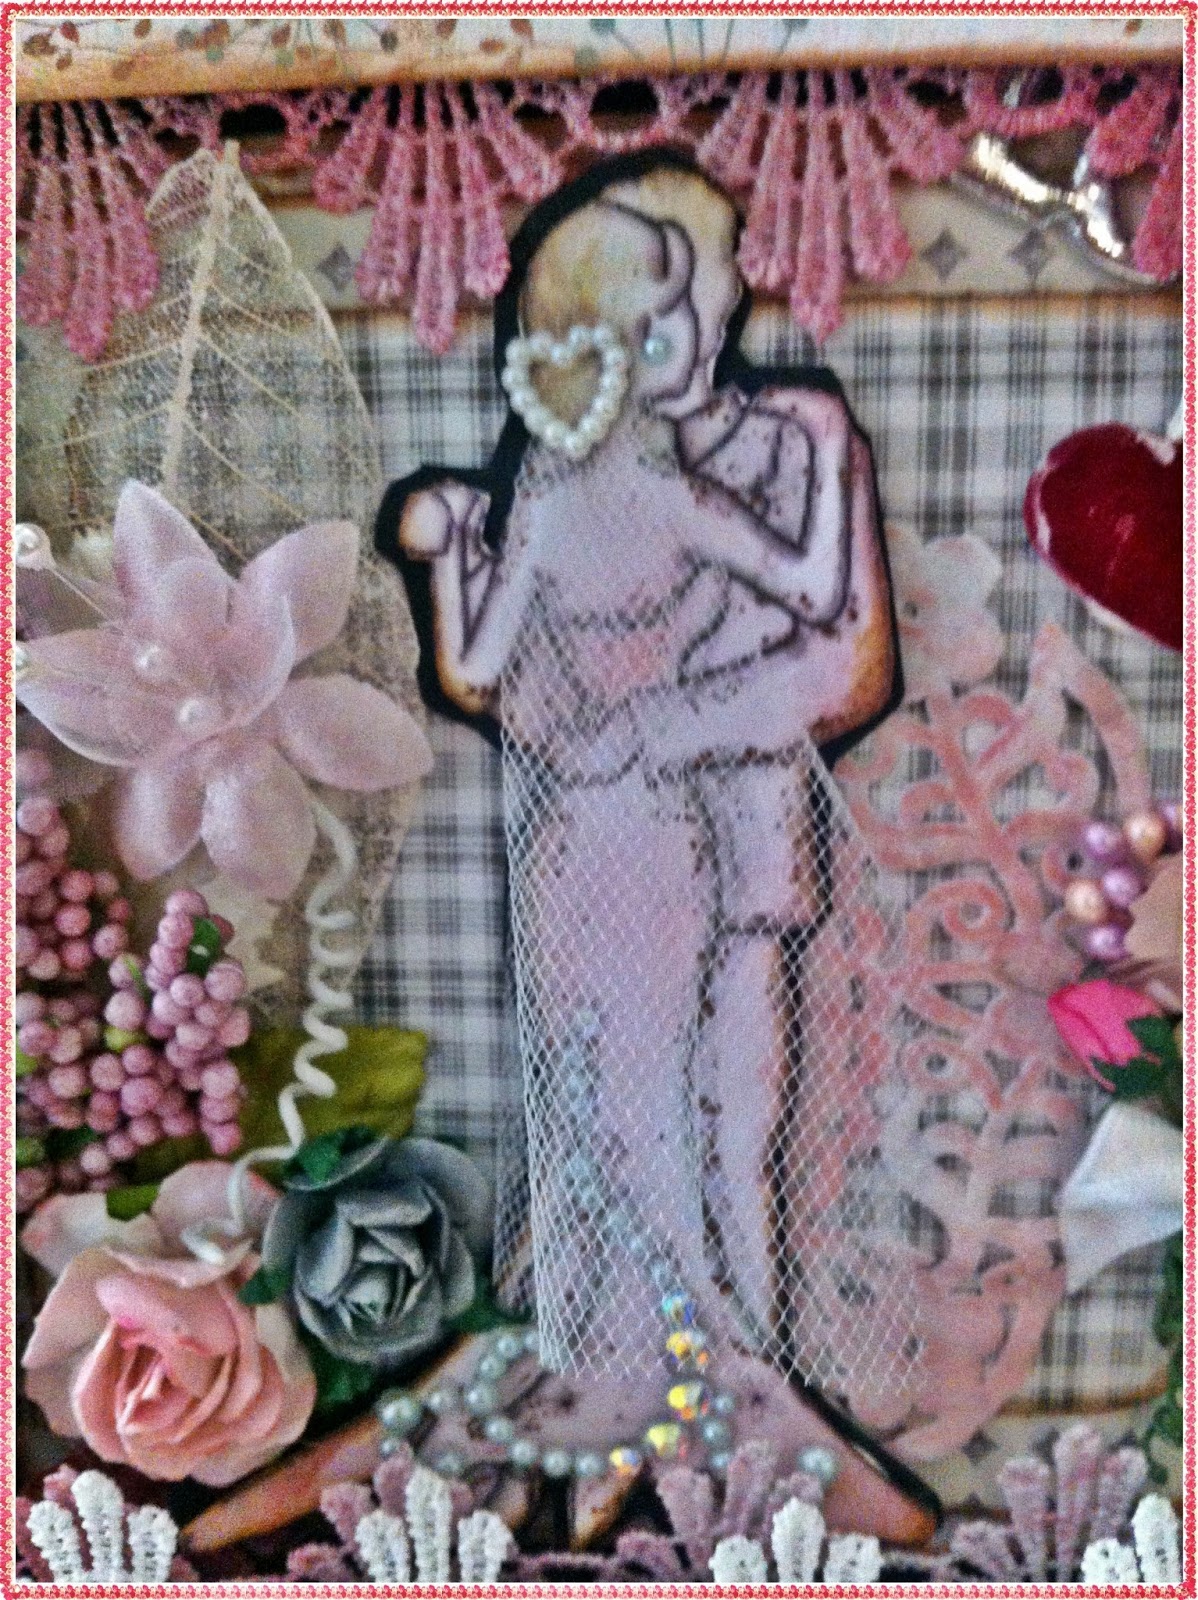

The couple image I downloaded from the Internet.  I used a black felt tip pen to emphasise the lines and inked the image lightly with both vintage photo and aged mahogany.  I added a delicate piece of  netting to act as the veil for the bride and secured it with a pearl heart and tiny pearl for her earring. 


A paper doily inked and cut so that it shows on one side only; a lovely bouquet with a delicate white bow.  That bouquet resembles her actual bouquet so much she could hardly believe it when she saw the card.  


The pink cluster is from an artificial flower and the roses and pink flower spray are from WOC.  At the back of the cluster there is a Prima and skeleton leaf, too pretty. The bling swirls on the wedding gown is from Prima too


The rosette I cut with my silhouette too and of course used the same designer paper.  I inked all the folds and creases of the box card with vintage photo and aged mahogany distress inks.  A tiny pearl in the rosette completed the look


Close up of the flowers and the beautiful lace gifted by a  friend.  I coloured the lace inside the card with glimmer mists but left it plain for the outside; looped some pretty peach ribbon through it.


A different angle of the box card

Hope you enjoyed my blog post.  

Please leave a comment and thanks for stopping by...


Monday, 7 January 2013

Martha Stewart Stencil Projects

Hey happy crafters...is everybody looking forward to celebrating Christmas??!!  The new year approaches and I hope and pray that 2013 be a wonderful year for all of us filled with love, happiness and new hopes, dreams and achievements!

With this post I share with you a few "Martha Stewart" projects using her paints and stencils.  As I mentioned in a previous post her paints are incredible - they are thick and luscious and can be used on all surfaces...and I mean ALL surfaces.  It applies smoothly, does not have small bits like some paints do and its finish is a dream.  It is perfect for any project.  The wonderful thing about using her paints on any surface means your projects can incorporate paper, walls, canvas, wood, glass, ceramics, mirrors, furniture anything.  It is perfect for craft projects AND home decor projects.

The paints come in a wide variety of types and colours and Paper Lane stocks the entire selection. The product range also includes stencils and templates and with the paints it is easy to turn an ordinary item into something spectacular.

Ladies let me emphasize that all the items I used in my projects were items that I had around my home; all of them plain and boring...so plain in fact that they were hidden from view :-).  I had so much fun with the paints and stencils I went over board as you can see...when I saw how easy they were to use I did not want to stop!  I specifically chose items I imagined everybody has because wanted to show you how versatile these paints are .

In keeping with the festive celebrations I stuck with the Christmas theme. So without further ado lets take a look at the projects...


For the above project I used a simple wooden box and first painted it with white acrylic paint.  I picked a stencil from the flourish collection, positioned it with some Martha Stewart tape and applied the paint with the stencil brushes.  The paint I used is florentine gold glitter paint - the end result??  A perfectly decorated box to hold the left over Christmas trimmings and add a wonderful touch to the decorations in any home.  It is so easy to do - pick a stencil, stick it down and add your paint!!


This time I applied goji berry to a cheap plastic pot plant holder.  With this round surface I made sure the stencil was tightly secured with the tape before applying the paint - I did not want any seepage!!  I also applied the paint with a roller to the rim of the pot plant holder and the water catcher - I think it looks lovely - vibrant enough to now 'live' in my kitchen!


A friend of mine loves potpourri so I bought her a box of fragrant vanilla as a Christmas Gift!  Instead of gift wrapping it I decorated the box itself using a stencil - it turned out great!  I picked the word 'relish' from the inspiration collection and with beetle black satin paint, easily applied it to the acetate box housing the very fragrant potpourri.  A paper doily positioned on top, some silver ribbon threaded through black lace, a flower cut with my Silhouette Cameo, two chipboard stickers, silver bead bling and a pretty tag made by a friend completed the look.  Please note all the items in red italics and more are available at Paper Lane.


I took two matching hand towels from my linen cupboard and with pink salmon and surf satin paint turned them from plain and boring into something warm and romantic!  The 'his' and 'hers' stencil is from the inspiration collection.  Looks great...hmmm...thinking of making some more!!


What is any project if there is not a 'paper' one hmmm :-).  I turned this boring white paper bag into a pretty Christmas gift bag that any receiver would love!  I used green curry satin paint and applied it to the border stencil - love it!  This stencil is also from the flourish collection. A touch of red, a pretty tag and I was done.  It is that easy!

Ladies with the Martha Stewart paints, stencils and tools you can alter any item in your home, give any object a face lift, share beautiful gifts and create lovely keepsakes.  The prices are reasonable, the effort minimal, the products amazing and the end result beautiful! Along with the wide selection of awesome papers and embellishments that Paper Lane has to offer, your home could boast a new look within a few hours.  It also makes perfect gifts so hurry over to Paper Lane today to get yours before stocks run out.  Remember these Martha Stewart products are exclusive to Paper Lane!


Tuesday, 18 December 2012

Christmas Tags in a Box

With this post I am show casing some Christmas tags I made for my swap partner.  Our swap was Saturday past so it is 100% OK for me to publish these images.

I mostly used Graphic 45's Christmas Emporium and few other scraps, some bits and bobs.

Warning!!!!  Image overload..................... *grin*


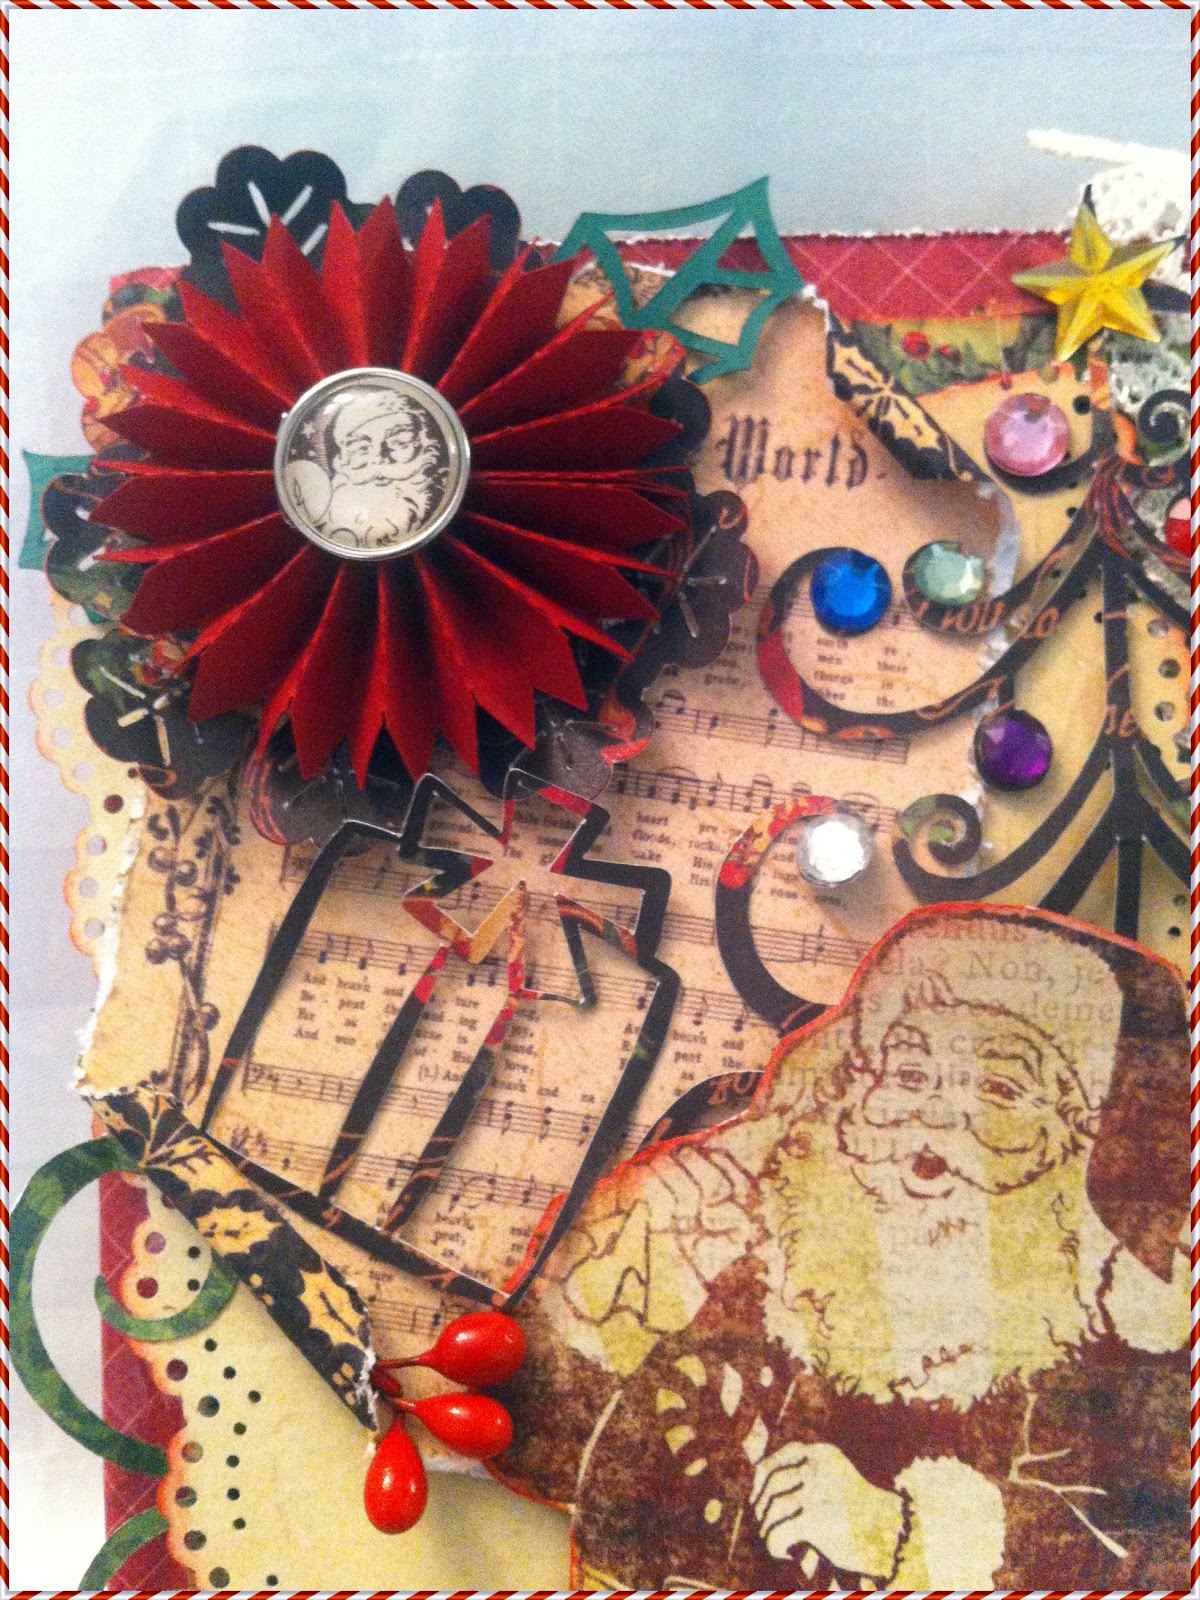
The above image is the cover of the book which houses the 5 tags I created.  The book itself, the Christmas tree, outlines of presents, snowflake under the poinsettia and the poinsettia itself was cut with my cameo using papers from the collection. Don't you just love that lace??!!

Close ups of the cover.

The image below shows the closure of the book at the side


The images below show the inside of the book.


The Five Tags


Tag No. 1

  
Tag No 2


Tag No 3


Tag No 4


Tag No 5


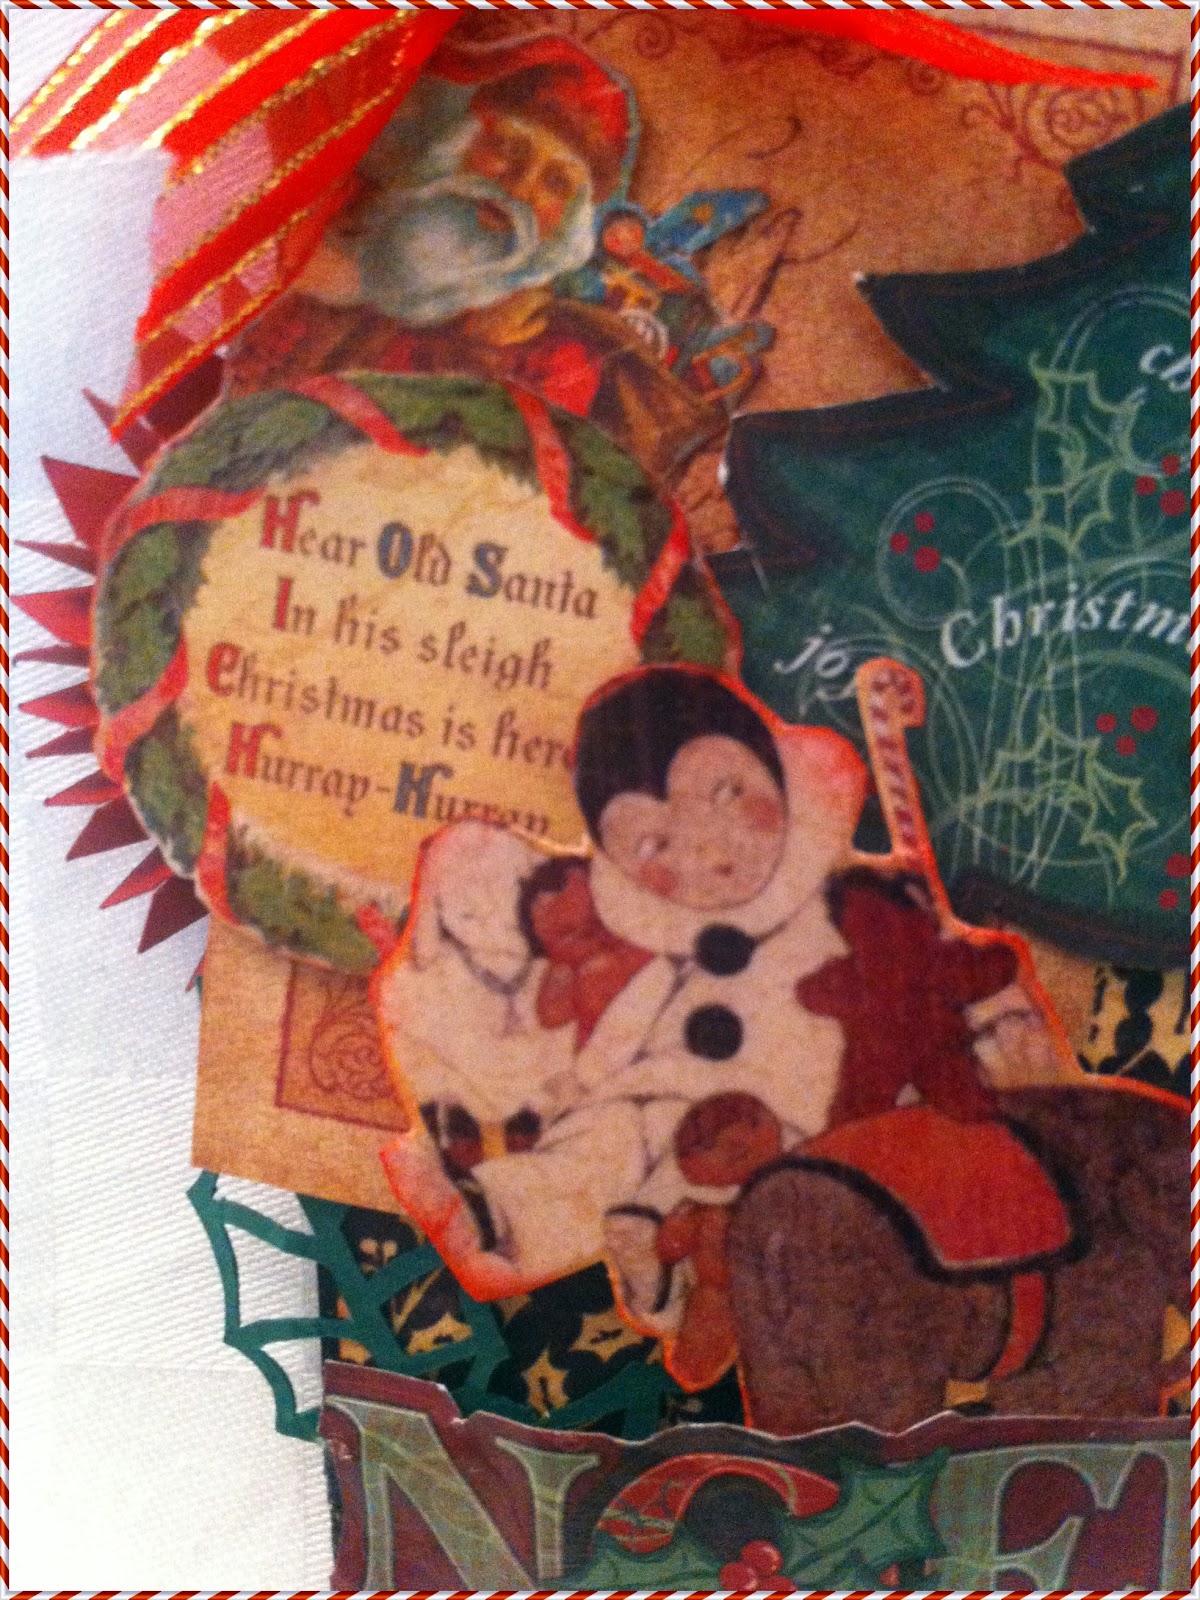
The snowflake is an actual Christmas tree ornament and added to that is an image from Tim Holtz Seasonal idea-ology paper collection.  I love the music sheet at the back of the tag!

It was such fun to create this for my swap partner and rather difficult to part with at the time but the consolation is that I can always make another for myself :-).

I hope you feel inspired to create some keepsake tags from your favourite paper collections too.

Thanks for stopping by...


Thursday, 13 December 2012

Altered Dome Plaque


I was so excited when I saw this wooden plaque dome in my DT package - I love to alter things!!
So many ideas went through my head like a layout featuring a family photograph, then I thought of painting it and doing some texturing but I wanted to do something that I could use after and not something that would just go on display. 

So I opted to make a key holder...


 Wanted a rusty shabby kind of look so I stuck to browns burlap cremes etc.


First I applied gesso and when dry Martha Stewart's vanilla bean satin craft paint.  Next I applied Martha Stewart's weather crackle effect and when that was fully dried, white acrylic paint.  Super super result!  Her crackle is wonderful to use, easy to apply, dries quickly - I absolutely love it! I cut some corks in half and screwed in normal cup hooks. I dabbed some hazelnut alcohol ink on the hooks and keys to tone down their gold hues. 


Don't you just love this burlap flower???  I had bought this flower at Paper Lane before I even saw my DT package and of course when I decided to use this flower in my project; it set the tone for the design scheme, colour theme and style.  I created the canvas flower myself and adhered the metallic flower to the center - perfect result don't you think??!!


I adhered a square of burlap to the plaque with my glue gun.  Chose to use paper from the DCWV Tradewinds paper stack-I tore and curled the paper before positioning it.  That awesome large key was a find when on vacation in Malaysia and fitted this project perfectly.  I used white ink dabber on the flower and tied a seam binding bow with a stick pin underneath.  The canvas bird is by Prima on which I used creme de chocolat glimmer mist. The key image has glossy accents for definition


The large key is on a chain and I chose to keep the chain on the key in this project.  At the bottom of the key image I poked a tiny hole and locked the chain through it....the image below shows how I spun the chain across plaque.


The gold butterfly with key from the paper collection was perfect!!  Adhered corrugated board onto that lovely patterned paper.  Before adhering the strip of corrugated board I finger painted it with white acrylic paint - love the effect.  Alphas were placed on foam squares before being adhered to the corrugated board.  Love the delicate lace on top and the awesome lace on the bottom! I placed net randomly through out the project. Again I dabbed the dark brown flower with acrylic paint before cocooning it in lace.


The back of the plaque.  I hot glued 4 round wooden knobs to protect the plaque against the wall and spun some old chain.  Did you notice I used the plaque in an 'upside down' position in my project??

Paper Lane is fully stocked with wonderful items to alter - pop in, select one, buy some paints and embellishments and display it in your home.  With such wonderful items in store, you have no excuse ladies so go to paper Lane now!!!

I hope my project has inspired you to alter something...if you do, post your pics, we would love to see.

Take care ladies...Janine


Monday, 10 December 2012

Mixed Media Canvas

With this canvas I experimented so much using Martha Stewart paints and peonie stencil - love it!!!

I saw a post with a stamped image similar to this and totally wanted it!  I searched high and low here in Dubai but could not find it - so what was the next thing to do???  Create the image myself!!


I love how this young lady turned out - I used a tooth pick dipped in black paint to draw her; used different pieces of paper to layer her dress with a bit of altered lace at the bottom of her dress.


Used a tiny flower punch on the same paper I used on the strips for her dress.  Prima wall stencil at the back.


Mixed media is fun!

Thanks for stopping by...