Thursday, 24 October 2013

Altered Muffin Tray


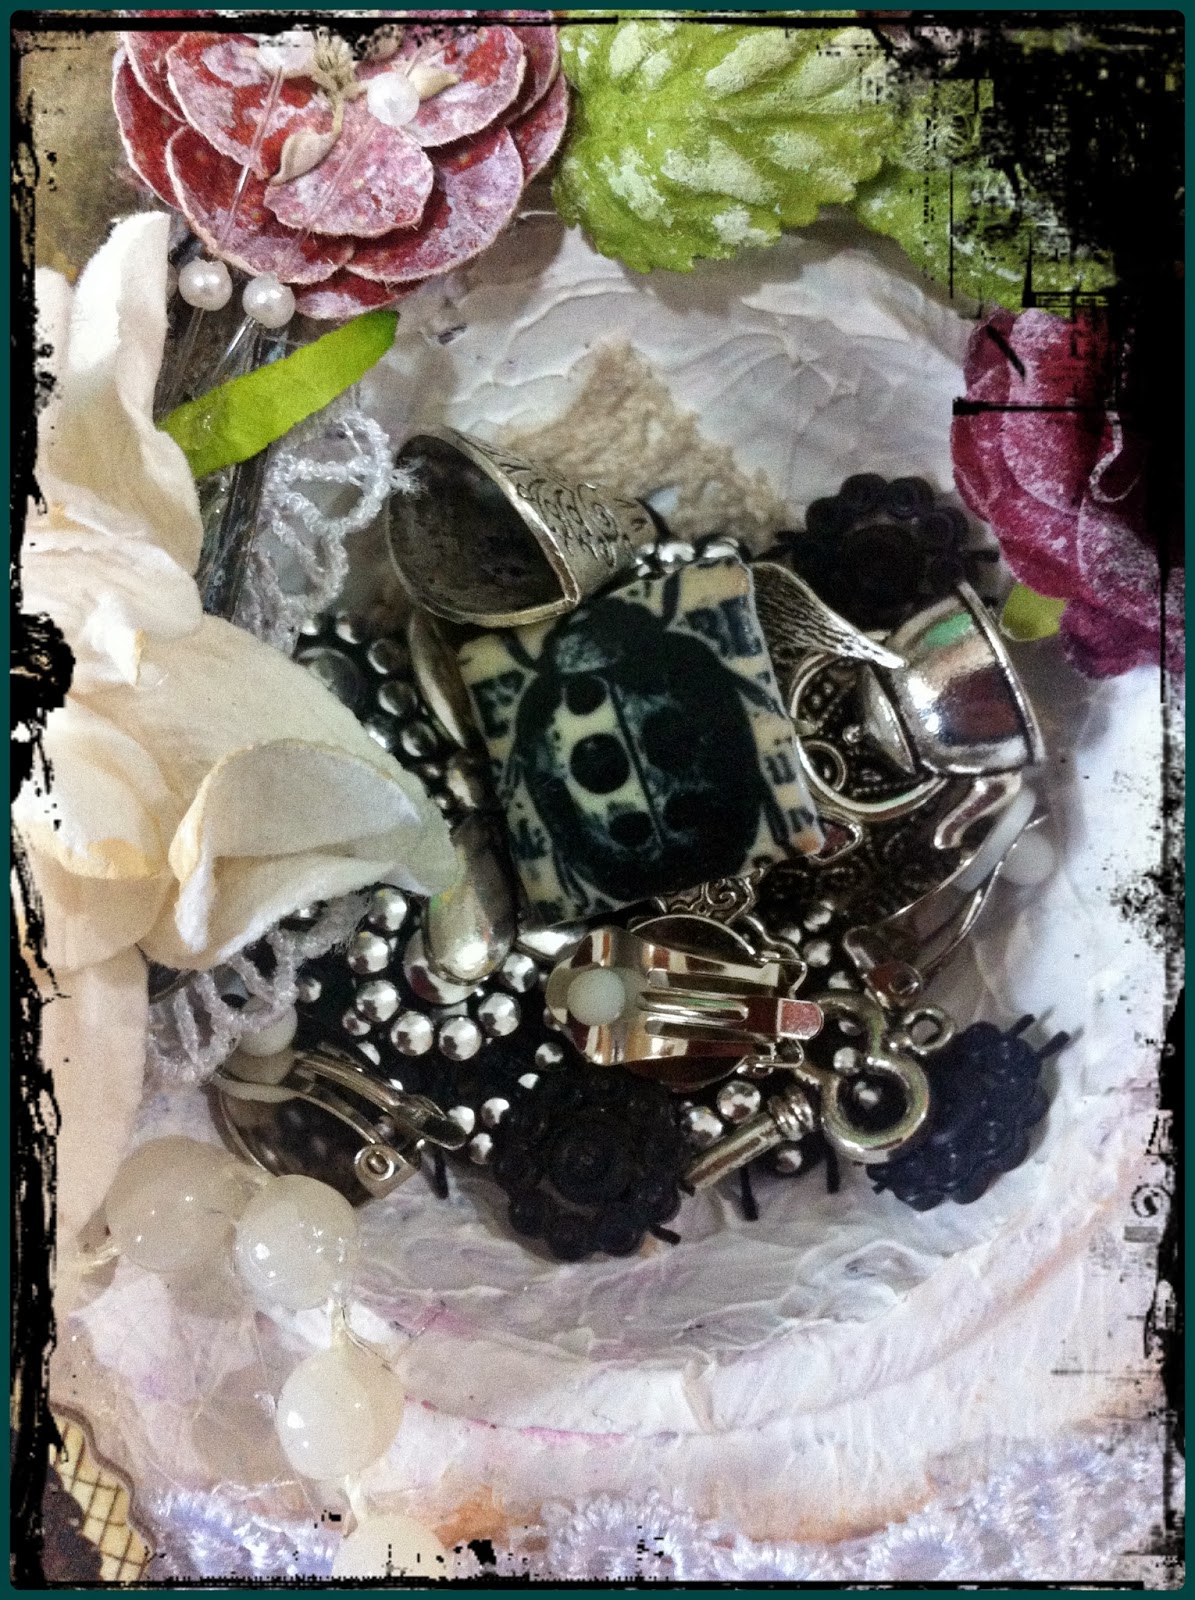
Here is a quick post featuring my altered muffin tray...shabby chic style :-D  My dearest friend Swati and I altered a muffin tray for each other.  Just click on her name and you will be taken to the post on her blog!

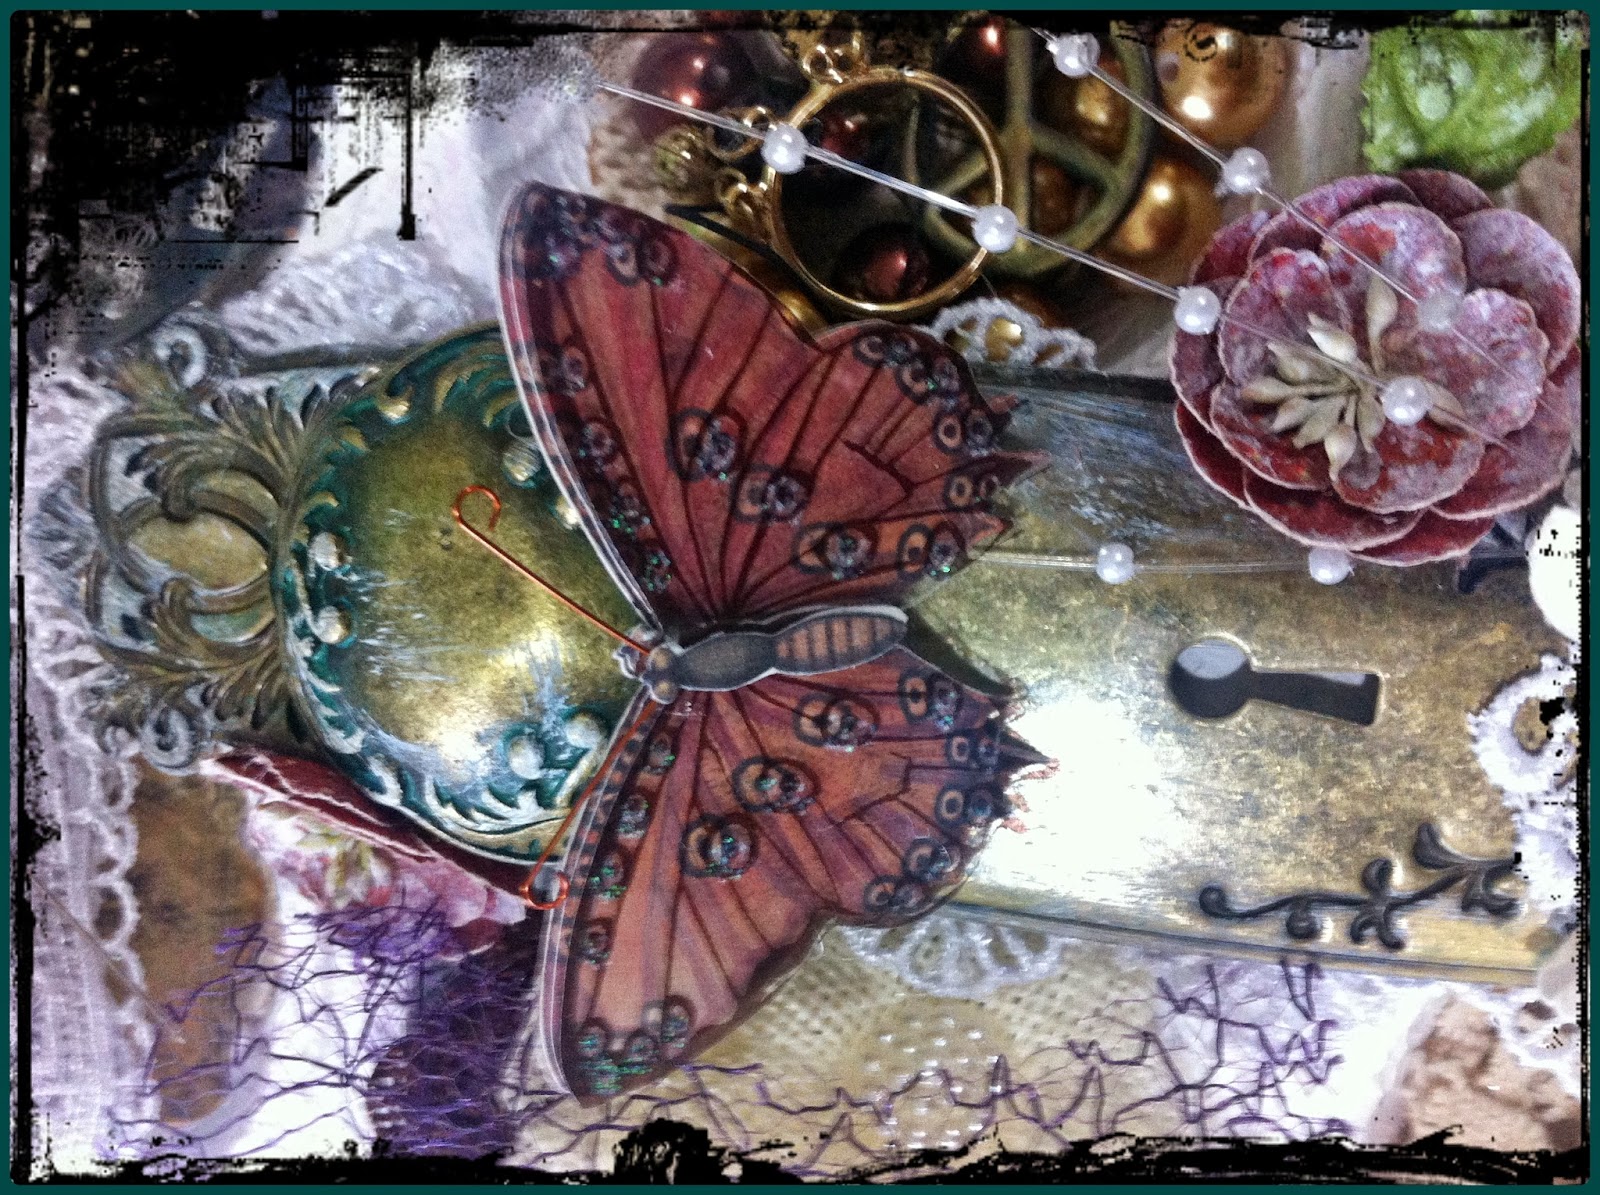
Just had to use the Graphic45 door knob I had been hoarding for a while!


And here it is.......


There is not much to say about altering a muffin try............alter it, decorate it and fill it with yummies.  

Hope you try one soon!

Thanks for stopping by...

Friday, 11 October 2013

Mini Monthly Organizer


I have truly had so much fun playing with the Life Time Collection and have made project after project after project. This post features one of the last 2 projects I have made using this awesome collection.  I still have enough "leftovers" to make a card and a tag and maybe even another layout...hmmm....I love making layouts.

I also love to carry a mini monthly organizer in my bag.  My bag (like so many women) contain so many different things (some useful some not...grin) and having a space taking organizer in my bag only makes my bag heavy.  I decided to make a mini organizer to keep record of grocery items I need to pick up, birthdays/anniversaries for the month, things to do, items I need to get for school projects, craft supplies I need, etc; it is really handy especially if it is a whole lot of small tasks or things you need to do. 


The cover is simple with just one flower; cannot embellish too much because it needs to fit along with everything else inside my handbag.  Again everything I have used in this project is available at Paper Lane and everything is either from the Life Time Collection or other Prima embellies.


The first page provides a space for a photo of your family...as a mom I love seeing photographs of my daughters all the time and of course when I am having coffee or lunch with friends I like to show and tell...


The kraft cardstock slides out and holds little notes for the items you need to get - short and simple and with easy access.  The pocket allows for other notes etc to slip in and not fall out or get damaged.  Super cute ladies!!


The flap on the second page lifts up and more provision is made for things to do and little notes for yourself.  I hot glued the black chipboard and paper clip...so all one has to do is slide out the used notes and insert new notes.  All the notes I created on my computer and this is very easy to do!


This is my favourite page I just love the colour combinations.  The left hand side has provision to slide receipts, lists, gift ideas, gift cards, anything... 


The above two images are close ups...the little craft booklet with the fussy cut flower unties and record can be kept of coffee mornings, brunches, craft sessions, etc.


The last spread again provides a frame for a family photograph and a tag.  Both the middle page and the right flap provides inserts to hold notes, lists, etc.


The back of the organizer.  Ladies this organizer measures 5 inches wide by 6 inches high it is flat and ties with blue seam binding.  Its sturdy, folds in on itself and fits perfectly into any bag without taking up too much space or getting damaged.  It is versatile and is perfect for every month.  All you have to do every month is print new lists from your computer and slide it under the paper clips provided - easy peasy ladies!!  

Take your ideas and design it...so much fun!!!

See you all soon...Janine

Saturday, 3 August 2013

A Ladies Diary Card

One of the ladies in my swap group has recently left Dubai and it was with sadness that we combined our last swap with a farewell lunch for her.  Her creativity and cheerfulness will be missed.  

I made a card for her not only as a memento but with enough "space' for all of us to write a personal message to her.  I thought about the design and style for a bit because I know she loves to work with bright colours but in the end I chose the papers from the glorious Graphic 45... A Ladies Diary,  Who would not love a card designed with these papers??!!  

So without further ado, let me show you the cover before we tuck into the inside pages...it is quite unique.


On the cover I used lots of lace and flowers.  I also distressed everything with my white dabber to give it more of a vintage shabby look.


With this card I wanted to create something she would treasure as a keepsake representing the group and not me so I divided two additional plain card stock sheets to fit inside of the card to accommodate all the messages of the different members of the group.  Next I fussy cut various ladies from the paper collection to represent the group.  I also punched holes in the middle page, ran a silkystring through it and added a heart charm.  On the last page I added a group photo!

The page below is the inside of the first page of the card

The image below is the middle section of the card
 The image below is the last page of the card
 The image below is the back of the card
 The card showing the various pages

Dont you just love the ladies in the design of this awesome paper collection...

I thought...felt it quite apt to fussy cut the different ladies on the awesome papers...after all our group does consist of the most awesome group of ladies :-)


When you work with Graphic 45 papers anything you create is bound to tbe appreciated!!

Hope you like the card................


Tuesday, 23 July 2013

Bird Nests Galore

I love love incorporating birds nests into my projects.  This blog post shares images of some of the projects I created as gifts for the awesome ladies in my swap group.

Hope you like them...
I created the above project using the red toothpaste box as shown. The die cuts was a gift from my awesome friend Swati. If you look closely behind the window on the left hand side you will see a couple.  I fussy cut the couple and the car from A Ladies Diary by Graphic 45.  The weathered look I created with white acrylic paint and Martha Stewart crackle effect. All artificial flowers and greenery are available at Daiso. Lace and birds from my stash.
I created the above canvas using a Daiso kitchen strainer. The artificial flowers, canvas and foam bow strip on the edge of the canvas are all available at Daiso too.  The window and lamp are shabby chic embellishments by Prima.  Butterfly and bird from my stash  I used various masks, glimmer mists, perfect pearls, distress inks and dabbers to create the canvas background.
 I created the above kitchen wall hanging using a Daiso kitchen ladle. I chose the blue colour to compliment the colour scheme in my friends kitchen.  The blue/white butterfly is by K&Co, the wooden bird branch by Prima and all artificial sunflowers and greenery is by Daiso.  The vintage looking lace, crochet doily I used to cover the back of the ladle and the blue checkered ribbon are all available at Daiso too!

 I created the above using a Daiso tea pot. All artificial flowers and greenery are from Daiso too.  Laces and bird from my stash.
I created the above wall hanging featuring a Daiso glove. The chipboard base was a left over part of a Paper Lane pre-cut mini album and the skewer was in my stash because I throw nothing away.  I covered the chipboard using a sheet of paper from the romance novel collection by Marion Smith. The eggs are beads from a cheap necklace I bought on sale, the wooden bird and shabby birdhouse is by Prima and all the crochet looking bits and creme lace are by Daiso.  Artificial flowers and greenery too; in fact the brown lacey flowers peeking out from the green leaves is from a tray cloth I cut apart also bought at Daiso. Laces and "create" from my stash.
  I created the above using a very small Daiso wooden spoon; the awesome birds nest is by Websters Pages. Lace, pearl and blue sprays are from my stash while the blue petite roses are by Melissa Francis. Greenery by Daiso.  Ribbons and flower at the back of the spoon from my stash.

I had so much fun making these gifts.  With the exception of a few items everything I used to make these gifts was bought at Daiso at an average price of 7dhs or just under 2dollars.  Point is you do not need to spend a fortune to create something unique and pretty.  

I do hope that via these simple projects I inspire you to do something similar and please do send me a message or a comment so that I can come and visit your blog to take a look.

Thanks for stopping by..