Sunday, 8 December 2013

Lace Rolls

Myself and two of my best crafting buddies decided to get together for a swap and craft day. What a wonderful day that was....not only did we create something awesome we also exchanged projects based on a lace and pearl theme. 

This blog post features what I made as my swap project for the three of us....


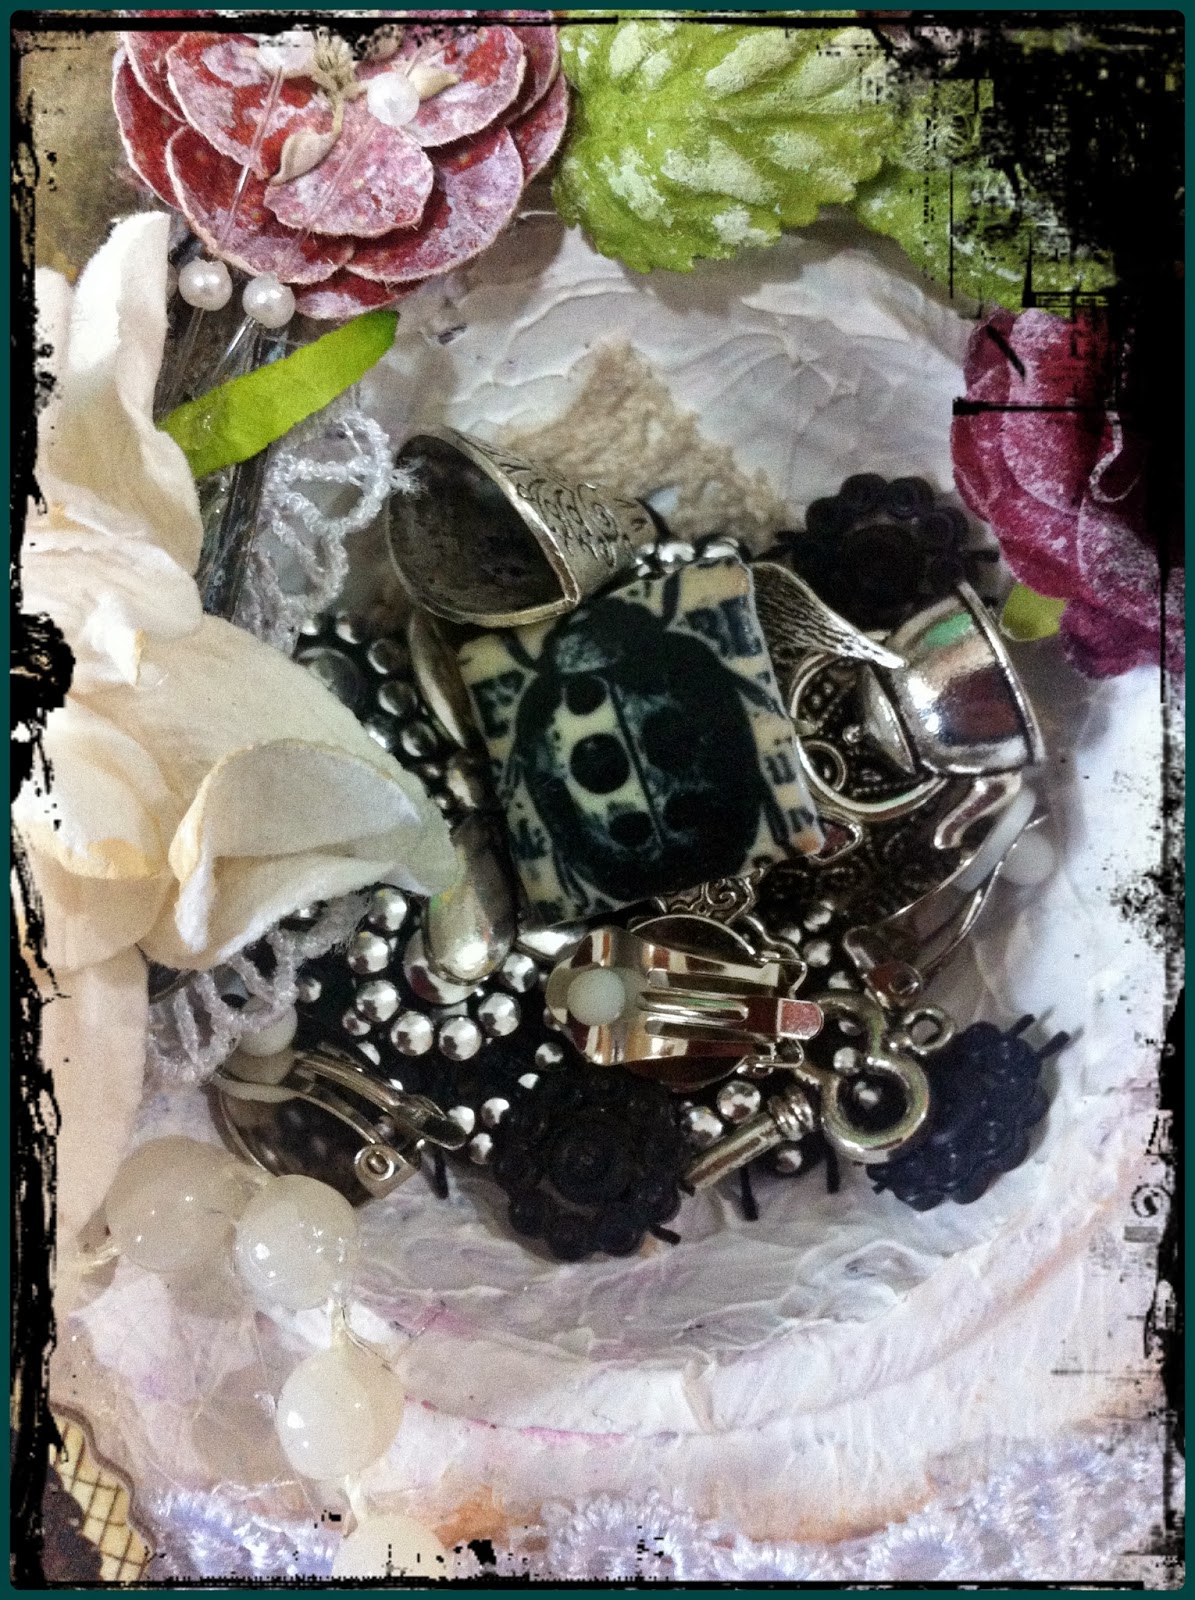
I made the lace rolls identical except for adding the embellishments on the top of the roll in each of their favourite colours.


I used the cardboard cylinder shape of a kitchen paper towel role and corrugated board from a small box. The embellishments were from my stash.

I will feature their swap items and the project we created together at a later date and will of course make reference to this post. 

I hope you enjoyed looking at the different photographs and that you too, just like me, will be inspired to try and make your own lace rolls.

See you soon.....


Wednesday, 4 December 2013

Altered Canvas


Hi there crafters, today I wish to share with you a canvas I made using Prima Life Time Collection other Prima Products.  I love dabbling in mixed media almost as much as I enjoy shabby chic and with the Prima Life Time papers, mixed media is a breeze because most of the work has been done for you  You must make a visit to the store and take a look at the awesome papers...I am sure by the evidence of most of my DT projects it is quite obvious how enthralled I am with this collection.

So lets take a look at my canvas...
I love the feminine theme of the canvas; a princess to oneself, family all important and enjoying the little things in life.  Flowers is one of the ultimate loves of a woman and what better way to express that than a bunch of beautiful Prima flowers!

The tree and picket fence was part of a RAK from a friend and the the word sentiments are cut outs from the awesome paper collection.  I added a Prima heart button in the center for additional symbolism . 
The butterfly, sunflowers and mini flowers are from my stash.  A Prima Life Time buttons and smile tag complete that corner
I used a variety of Prima flowers from various collections; all dabbed with white acrylic paint.  The wooden clock and sentiments on the side are Prima and designed by the awesome Finnabair!
Using permanent black ink I stamped the Prima doll stamp on papers from the collection that had a brownish hue.  I also stamped the skirt and bodice on different papers from the collection too, cut them out, added a strip of lace and then adhered to the doll.  I just could not resist adding a glittered Maya Road crown to the stamped crown on the doll's hair - love it!  

I just love the cluster of Prima flowers...who wouldn't!!
I used a variety of masks, stencils, inks, paints and sprays on the canvas before adding my embellishments   As I was using my mod podge, gesso and pastes I had no idea what the final look of the canvas would be...and how do I feel about it??  Love the outcome, will add a final glaze spray to help hold and maintain the canvas so I can keep it for a long time to come.

Thank you for stopping by and I hope you find inspiration to create one of your own...Janine

Thursday, 24 October 2013

Altered Muffin Tray


Here is a quick post featuring my altered muffin tray...shabby chic style :-D  My dearest friend Swati and I altered a muffin tray for each other.  Just click on her name and you will be taken to the post on her blog!

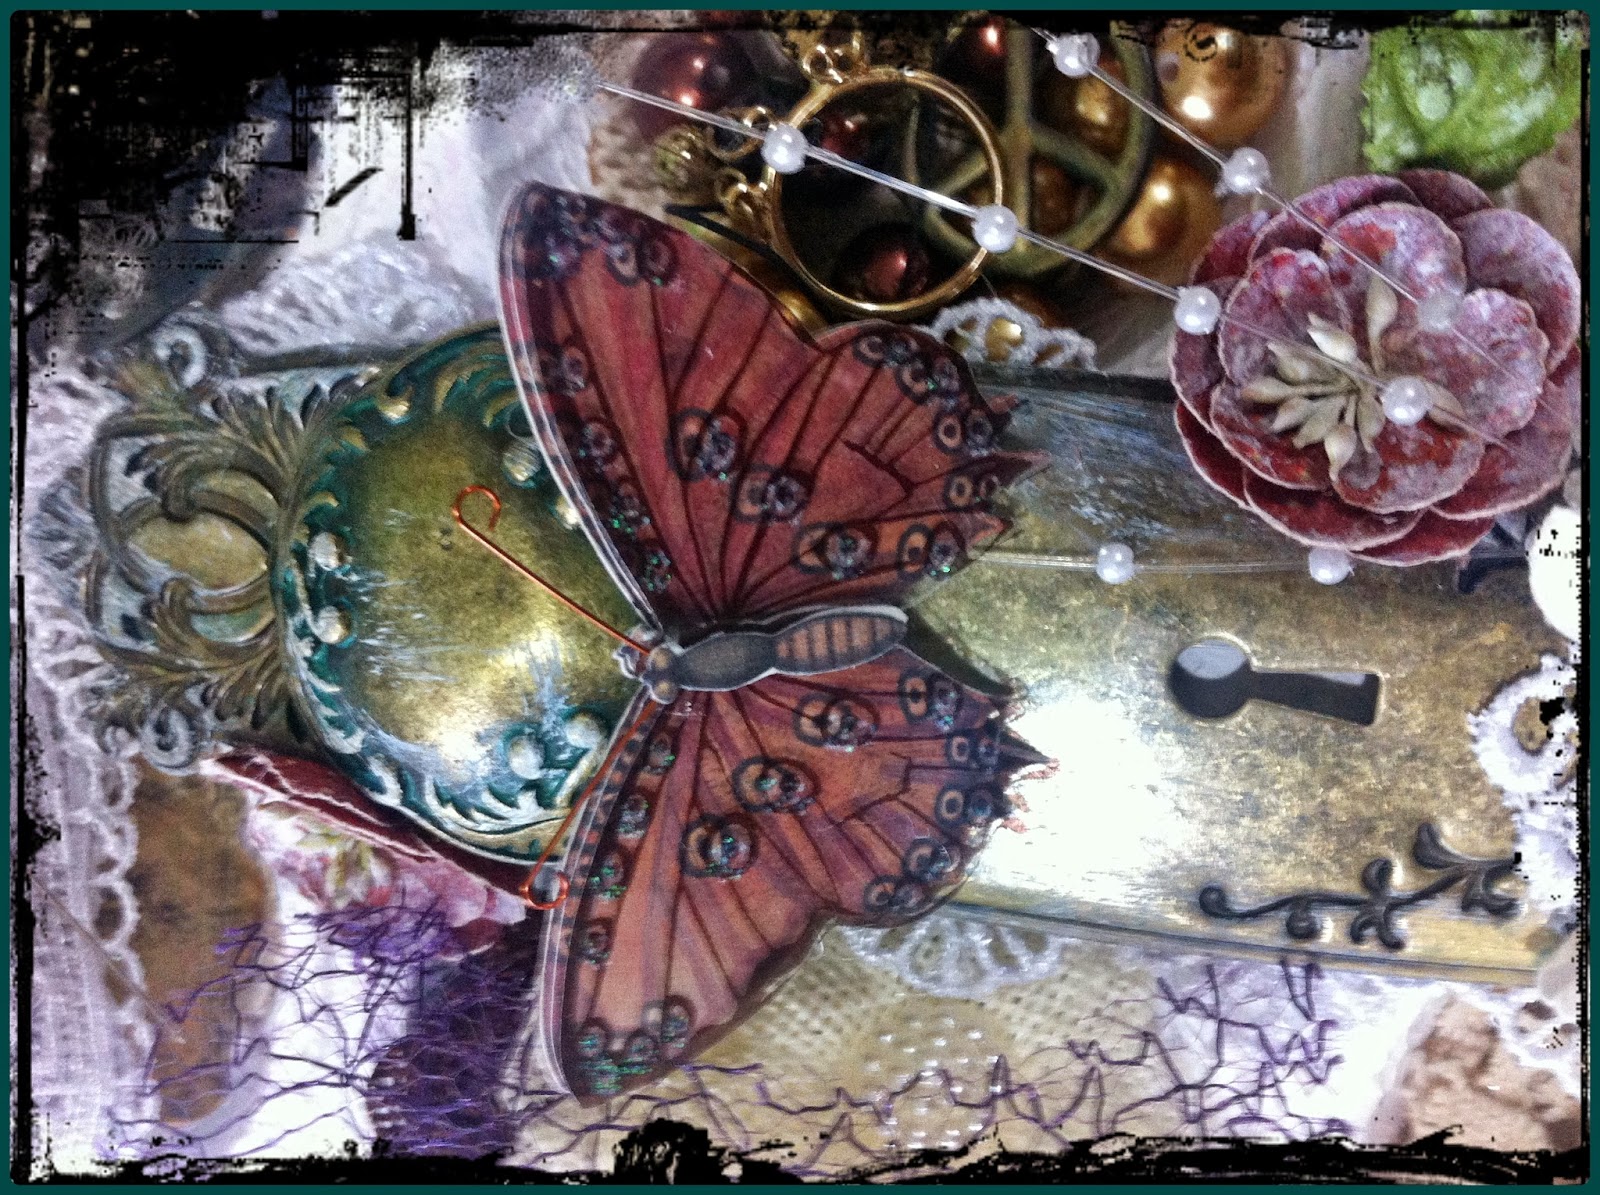
Just had to use the Graphic45 door knob I had been hoarding for a while!


And here it is.......


There is not much to say about altering a muffin try............alter it, decorate it and fill it with yummies.  

Hope you try one soon!

Thanks for stopping by...

Friday, 11 October 2013

Mini Monthly Organizer


I have truly had so much fun playing with the Life Time Collection and have made project after project after project. This post features one of the last 2 projects I have made using this awesome collection.  I still have enough "leftovers" to make a card and a tag and maybe even another layout...hmmm....I love making layouts.

I also love to carry a mini monthly organizer in my bag.  My bag (like so many women) contain so many different things (some useful some not...grin) and having a space taking organizer in my bag only makes my bag heavy.  I decided to make a mini organizer to keep record of grocery items I need to pick up, birthdays/anniversaries for the month, things to do, items I need to get for school projects, craft supplies I need, etc; it is really handy especially if it is a whole lot of small tasks or things you need to do. 


The cover is simple with just one flower; cannot embellish too much because it needs to fit along with everything else inside my handbag.  Again everything I have used in this project is available at Paper Lane and everything is either from the Life Time Collection or other Prima embellies.


The first page provides a space for a photo of your family...as a mom I love seeing photographs of my daughters all the time and of course when I am having coffee or lunch with friends I like to show and tell...


The kraft cardstock slides out and holds little notes for the items you need to get - short and simple and with easy access.  The pocket allows for other notes etc to slip in and not fall out or get damaged.  Super cute ladies!!


The flap on the second page lifts up and more provision is made for things to do and little notes for yourself.  I hot glued the black chipboard and paper clip...so all one has to do is slide out the used notes and insert new notes.  All the notes I created on my computer and this is very easy to do!


This is my favourite page I just love the colour combinations.  The left hand side has provision to slide receipts, lists, gift ideas, gift cards, anything... 


The above two images are close ups...the little craft booklet with the fussy cut flower unties and record can be kept of coffee mornings, brunches, craft sessions, etc.


The last spread again provides a frame for a family photograph and a tag.  Both the middle page and the right flap provides inserts to hold notes, lists, etc.


The back of the organizer.  Ladies this organizer measures 5 inches wide by 6 inches high it is flat and ties with blue seam binding.  Its sturdy, folds in on itself and fits perfectly into any bag without taking up too much space or getting damaged.  It is versatile and is perfect for every month.  All you have to do every month is print new lists from your computer and slide it under the paper clips provided - easy peasy ladies!!  

Take your ideas and design it...so much fun!!!

See you all soon...Janine

Saturday, 3 August 2013

A Ladies Diary Card

One of the ladies in my swap group has recently left Dubai and it was with sadness that we combined our last swap with a farewell lunch for her.  Her creativity and cheerfulness will be missed.  

I made a card for her not only as a memento but with enough "space' for all of us to write a personal message to her.  I thought about the design and style for a bit because I know she loves to work with bright colours but in the end I chose the papers from the glorious Graphic 45... A Ladies Diary,  Who would not love a card designed with these papers??!!  

So without further ado, let me show you the cover before we tuck into the inside pages...it is quite unique.


On the cover I used lots of lace and flowers.  I also distressed everything with my white dabber to give it more of a vintage shabby look.


With this card I wanted to create something she would treasure as a keepsake representing the group and not me so I divided two additional plain card stock sheets to fit inside of the card to accommodate all the messages of the different members of the group.  Next I fussy cut various ladies from the paper collection to represent the group.  I also punched holes in the middle page, ran a silkystring through it and added a heart charm.  On the last page I added a group photo!

The page below is the inside of the first page of the card

The image below is the middle section of the card
 The image below is the last page of the card
 The image below is the back of the card
 The card showing the various pages

Dont you just love the ladies in the design of this awesome paper collection...

I thought...felt it quite apt to fussy cut the different ladies on the awesome papers...after all our group does consist of the most awesome group of ladies :-)


When you work with Graphic 45 papers anything you create is bound to tbe appreciated!!

Hope you like the card................