Hey scrappy friends...A few years ago while looking for inspiration on youtube to create a 45 year anniversary card I stumbled across mini albums and was immediately hooked. After watching a few more I decided to brave my own...and here is the result :-)
I mostly make custom orders but I also design for 'stock'. At most I will have 2-3 in stock and will sell it to any interested party BUT this is one album I will NOT sell! It is precious to me and will always remain part of my own personal collection.
The papers and embellishments are all over the show (used whatever I had in my stash and on the Internet). I cut the bottle shape and inside pages with some thick poster board with a cutter and by hand...
The cover of my mini album. I applied glossy accents to the bottle teat and cut out the tiny clothing from images I found on the Internet. The words BABY I created on my laptop, applied silver glitter to the letters and matted them onto torn squares of mulberry paper.
The images on top is the first page on the other side of the other side of the cover - all pretty in soft pastel shades. Attached to the silver ring binder is a green paperclip that holds a 5 page green mini book with an ABC cover; each page can hold a tiny photo and or is most suitable for a little story pertaining to the preparation of the arrival of the baby. There are 2 tags and a pink photo frame that can show off 2 cute photos.
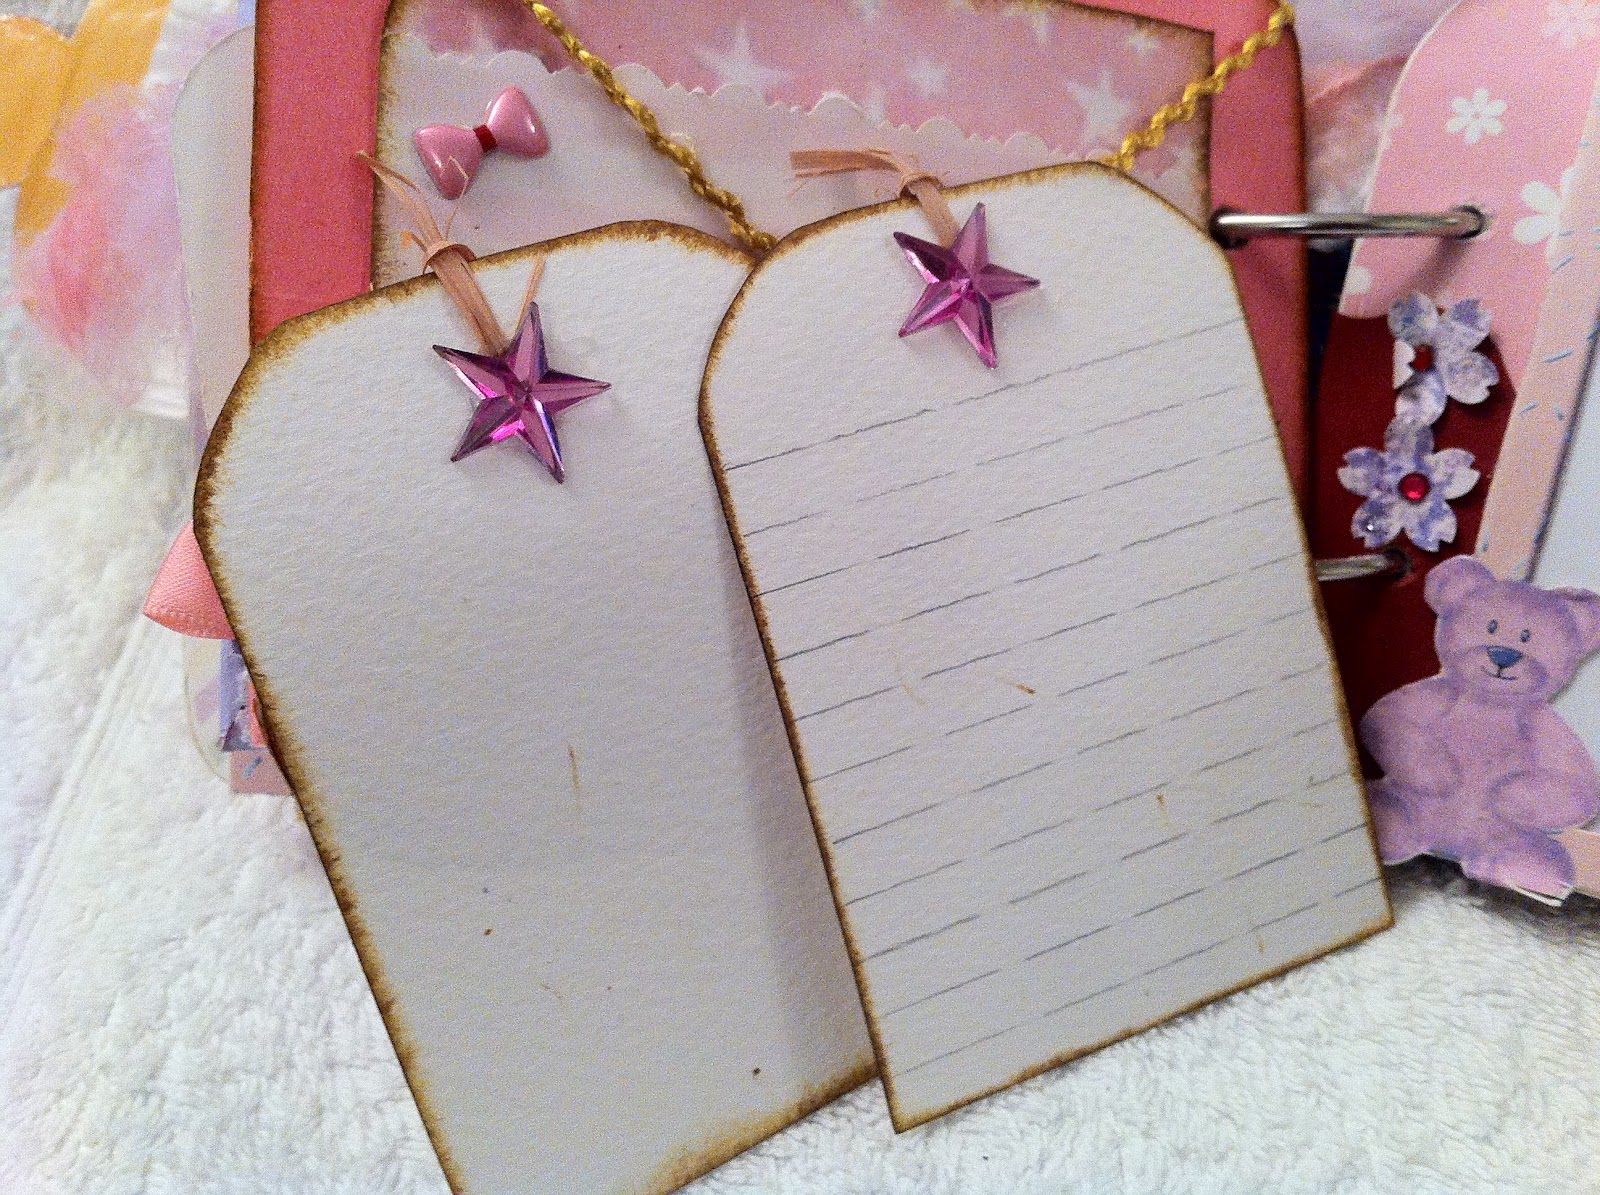
The tags in this album each have a pink teddy that acts as a pull out. Each tag provides a 3 x 2 space for a picture on one side and has a journaling spot (with lines) on the other side. The pink photo mats provided in this album are 3 x 2.5" in size.
The second page is a decorative pocket that contains 2 tags and a pink photo matt. The semi circle that reads "Its a girl" with the mini bottle is for decorative purposes only.
The 3rd page is one of my favourites. I drew this tiny onesie on white cardstock - first I made a template, then I folded the cardstock 4 times and traced the onesie onto it. I cut it out making sure I did not cut it on the left hand shoulder. I matted some pretty pink polka dot papers and glued tiny heart shaped ribbon on the sleeves - it looks real cute.There are journal lines to record another story - like your birth experience for example
I love how the twine winds around the button!! It opens to reveal pink polka dot ribbon in an X shape to secure a tag where you can place a picture and do some journalling. A photo can also be placed on the pink checkered 2x3" space.
The 4th page above holds a pink mat and a pull out that provides space for 6 photos. Isn't the teddy bear and apron adorable!!
My 5th page (below) holds space for 5 photos and a 4 x 3.5" photo can be adhered to the page itself. I attached a pink pacifier to the chain that holds the 2 circular photo mats in place. Blue and white polka dot ribbon acts as a secure binder to slide the photo mats under. A scatter of some glittery flowers and my page is complete!
Some closeups...it reads our little flower and budding beauty!
Next is an envelope I made with some purple cardstock paper. I attached a belly band, some left over baby shower ephemera and made a ink flower or polka dot scraps. A pink mat slides behind the belly band and a photo can be glued onto the purple paper itself if wanted...
The other side of the envelope I decorated with some purple ribbon, white flowers and a purple teddy bear. The envelope opens to reveal white cardstock squares that can either be used for photo mats or for another 'story' which your little darling will love reading one day when she is all grown up!
The next page holds space for your cutie's birth details and an envelope that could house your baby's name tag, or the crib details - any kind of keepsake!
The next page again used the X shape to house a photograph! Two tags and a cute 'princess' sentiment finishes off the page. A new born baby is so precious, a thousand photos is not enough! We all need an adorable album to house their many first moments!
This page is quite simple ... 1 precious moment surrounded by purple embellishments.
The page below is also one of my favourites. At the bottom of the page I made provision for a tri fold to house 4 photos. To secure the trifold to the page itself I used a baby plaster! I got that idea from a lady on youtube - unique huh! This page also holds 2 tags and a pink photo mat.
The bottom photo shows just an insert made out of cardstock. I folded it in such a way that it created two inserts each housing a tag and a pink photo mat. Pretty simple! Pretty effective!!
I had bought homemade jam at a fair once and kept the square cloth bound around the mason jar. When I made this mini album I used that cloth to create a baby nappy shape to hold a tag. A few embellishments and a nappy pin completed the look!
I created another template in the form of a baby bib - decorated it with decorative cardstock and called it Daddy's Girl! The back of the 'bib' photo mats are blank ; it can therefore be used as journalling spots or for more photos. They slide nicely into another envelope hot glued onto the page. The candy striped ribbon is for decorative purposes only!
I created this cot with strips of paper hardened with glossy accents. A pink photo matt and a small bling completed this page.
A photo can be inserted under the decorative border. The border strip reads 'it's a girl'.
The last page is a pocket that holds a tag - Up to 4 photos can be slide into this pocket!
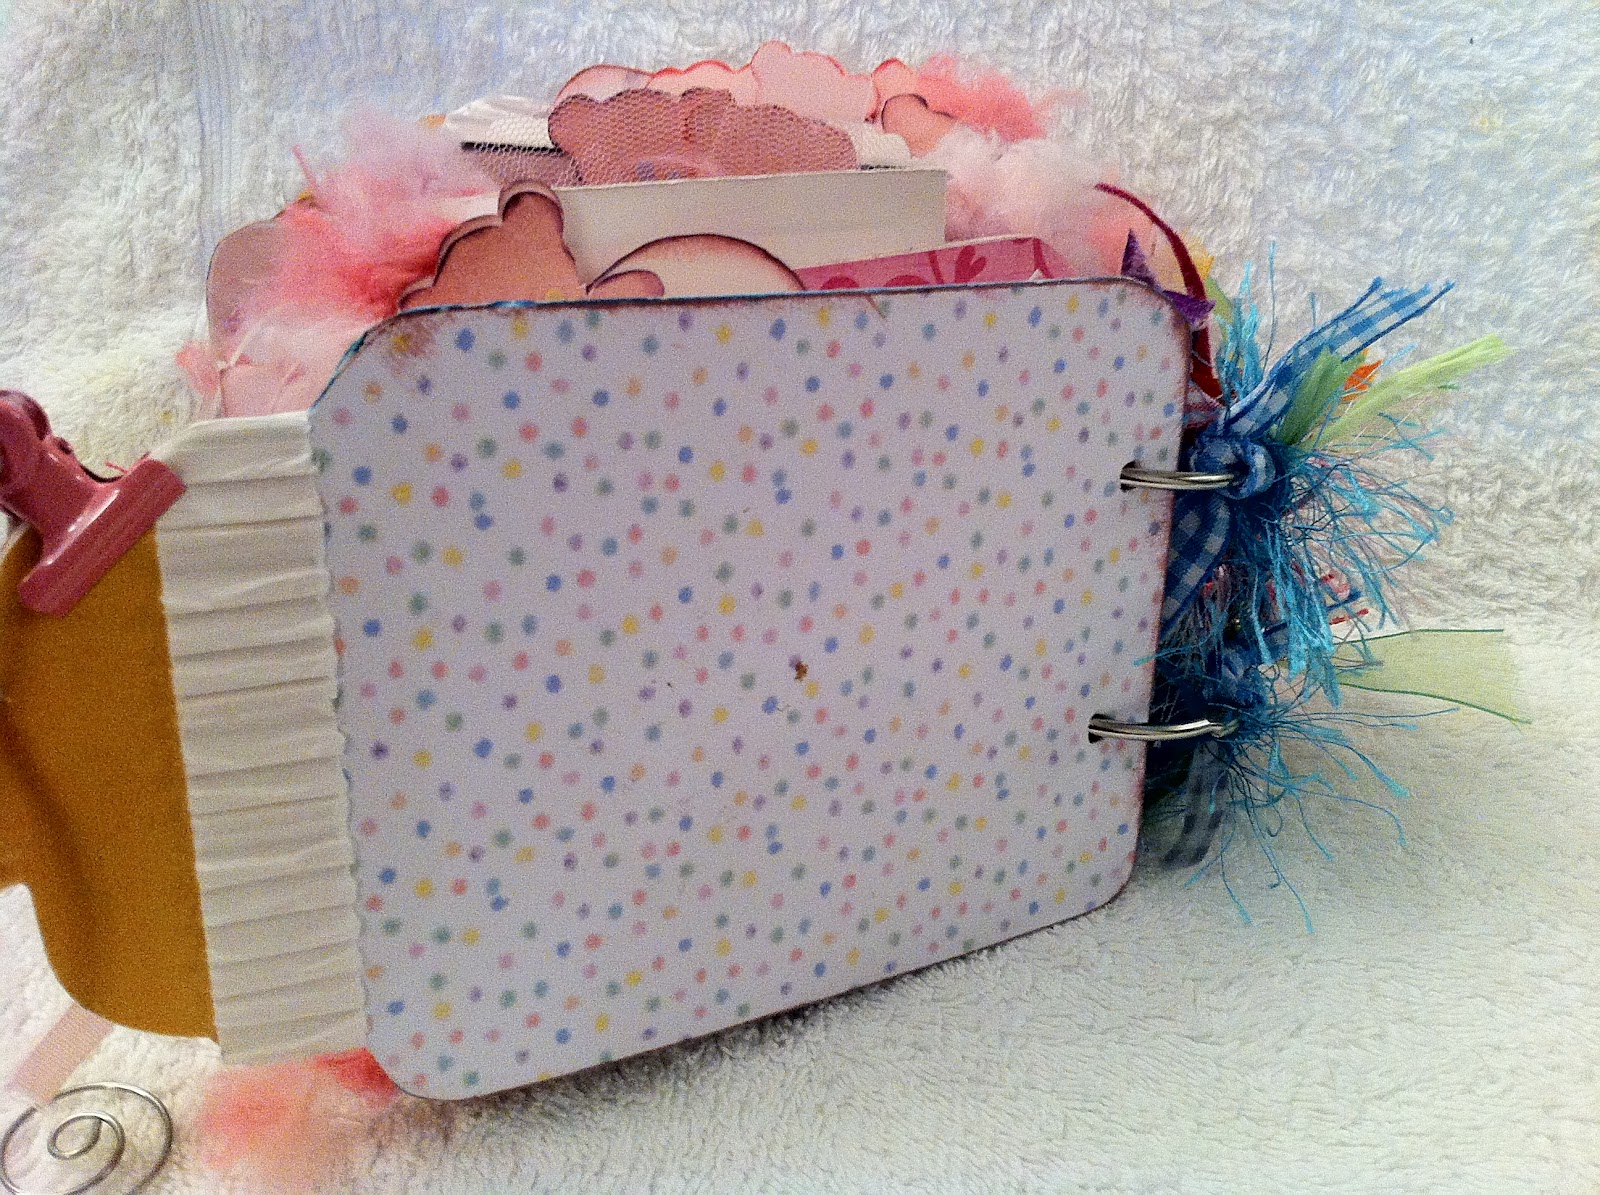
The closure for this album is pink and white string tied to a pink paper clip; there is also a pink diaper pin for added decoration and a fancy paper clip that secures to the front of the album.
Again this mini album is super special to me and I will make a duplicate rather than sell this particular one. My first grand daughter will be the recipient of this album but that will not be happening in while.
I hope you enjoyed all the detail...thanks for stopping by...\