Monday, 20 May 2013

A ladies diary birthday card

A very dear and special friend of mine recently celebrated her birthday and to celebrate with her, I also gifted the following to her...


A ladies diary birthday card an altered spoon!!!

This blog post will just feature the card and I will showcase the altered spoon in another post.


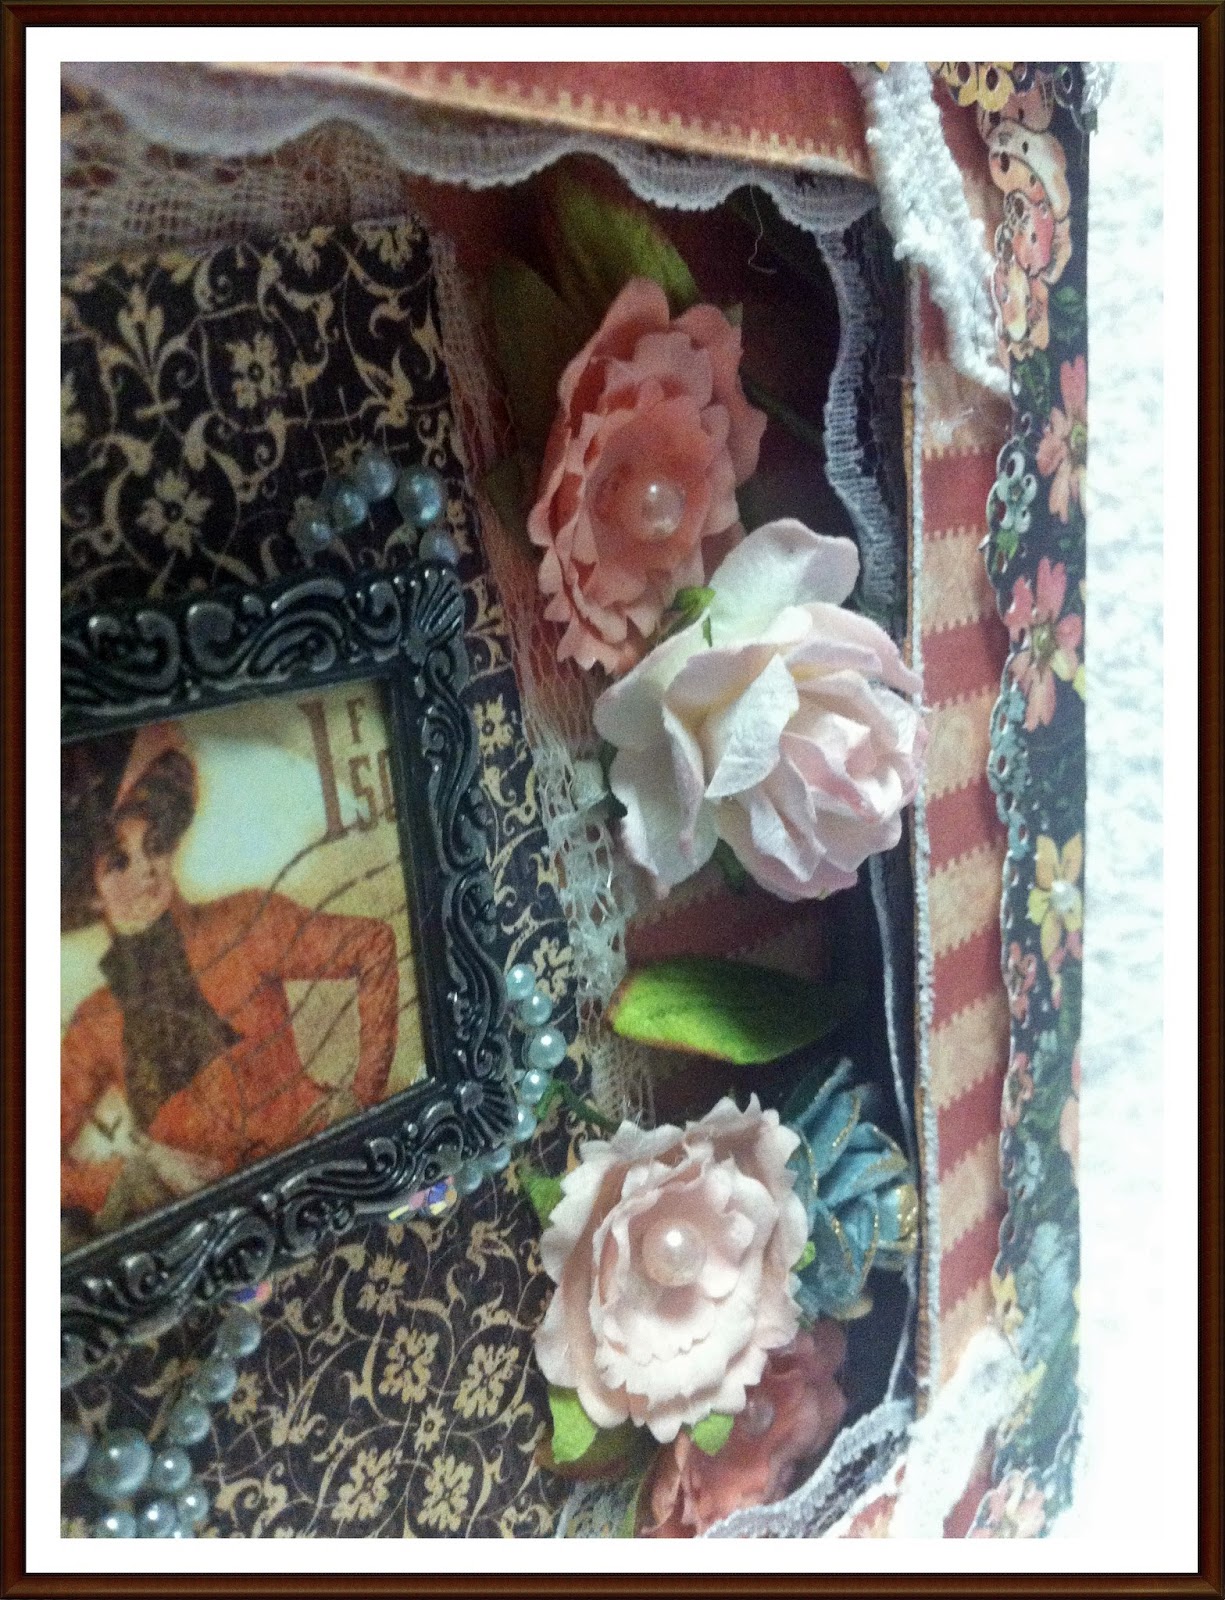
I created a box card and used all things pretty...lots of lace and pearls and gorgeous Prima flowers.


The Martha Stewart daisy punch is a must have; it just adds to the beauty of any feminine card.


The clock button is also from the collection.


I fussy cut the ladies and added triple layered foam squares to the lady in pink!


Gorgeous Prima flowers and my favourite WOC pink rose; the turquoise rose is also Prima!


Love these ladies... elegant ladies for a elegant friend!


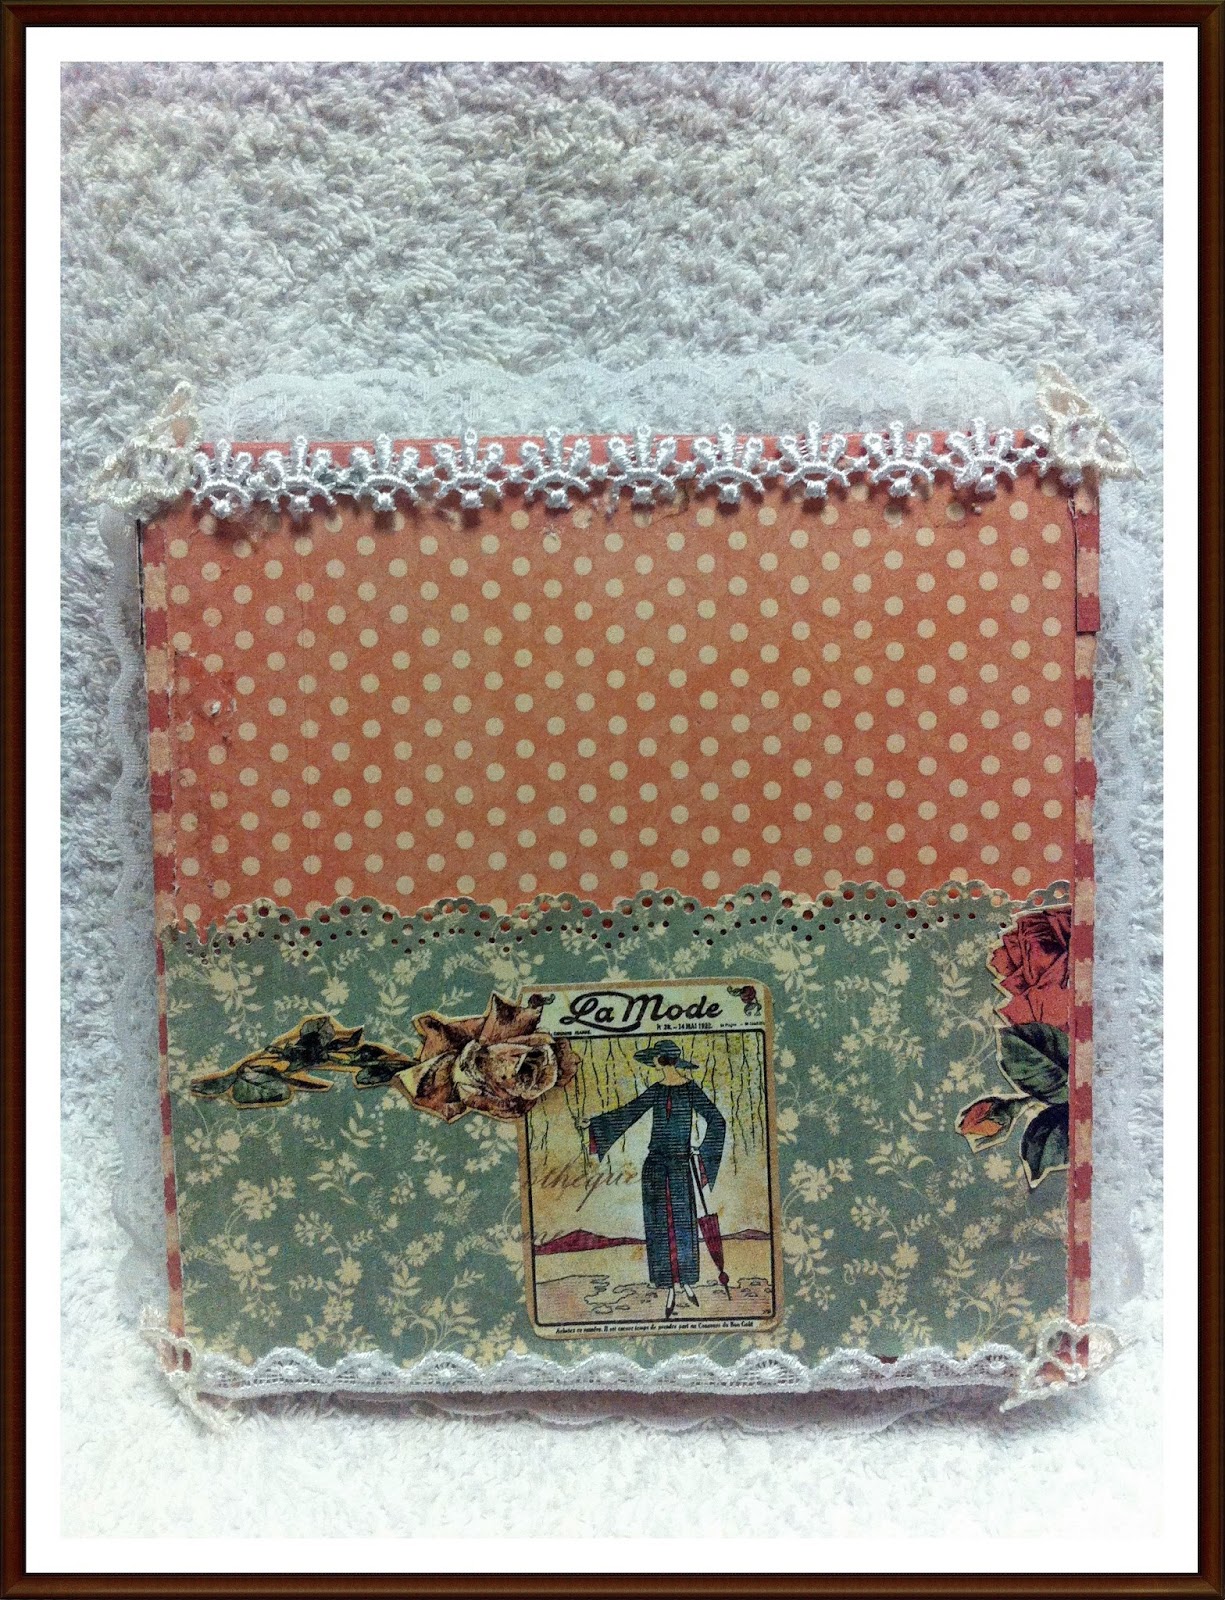
                               Back of the card - I removed the tag to protect her privacy

What can I say... the paper line says it all!

...and she is an awesome lady indeed...


Wednesday, 8 May 2013

Birthday Gifts

My daughter Hannah turned a glorious 13 on the 6th of April!  A long awaited age for her "grin". My daughters love it when I make something for them - whenever I buy a gift they always say "why did you not make something mommy?"...So in tribute to that, and because I love creating for girls, I made several keepsakes for her..

First up is her birthday card.  Everything I used is from the Bo Bunny Little Miss Collection.  You should have seen her face when she opened the envelope....

Second is a guest book!  I created this fun book using 1 12x12 sheet of paper - all the papers are from The Preppy Princess Paper Stack by DCWV.  Her party guests and school friends wrote birthday messages on the tags - a lovely keepsake to treasure forever.  I used various papers and embellishments - all to compliment her personality...


Third gift is an embellished letter H!  Again all the embellishments are Bo Bunny Little Miss and the paper is from DCWV The Preppy Princess Stack.  I loved how this turned out and all her friends were trying to hustle something similar as gifts from her when next they had birthdays "smile"


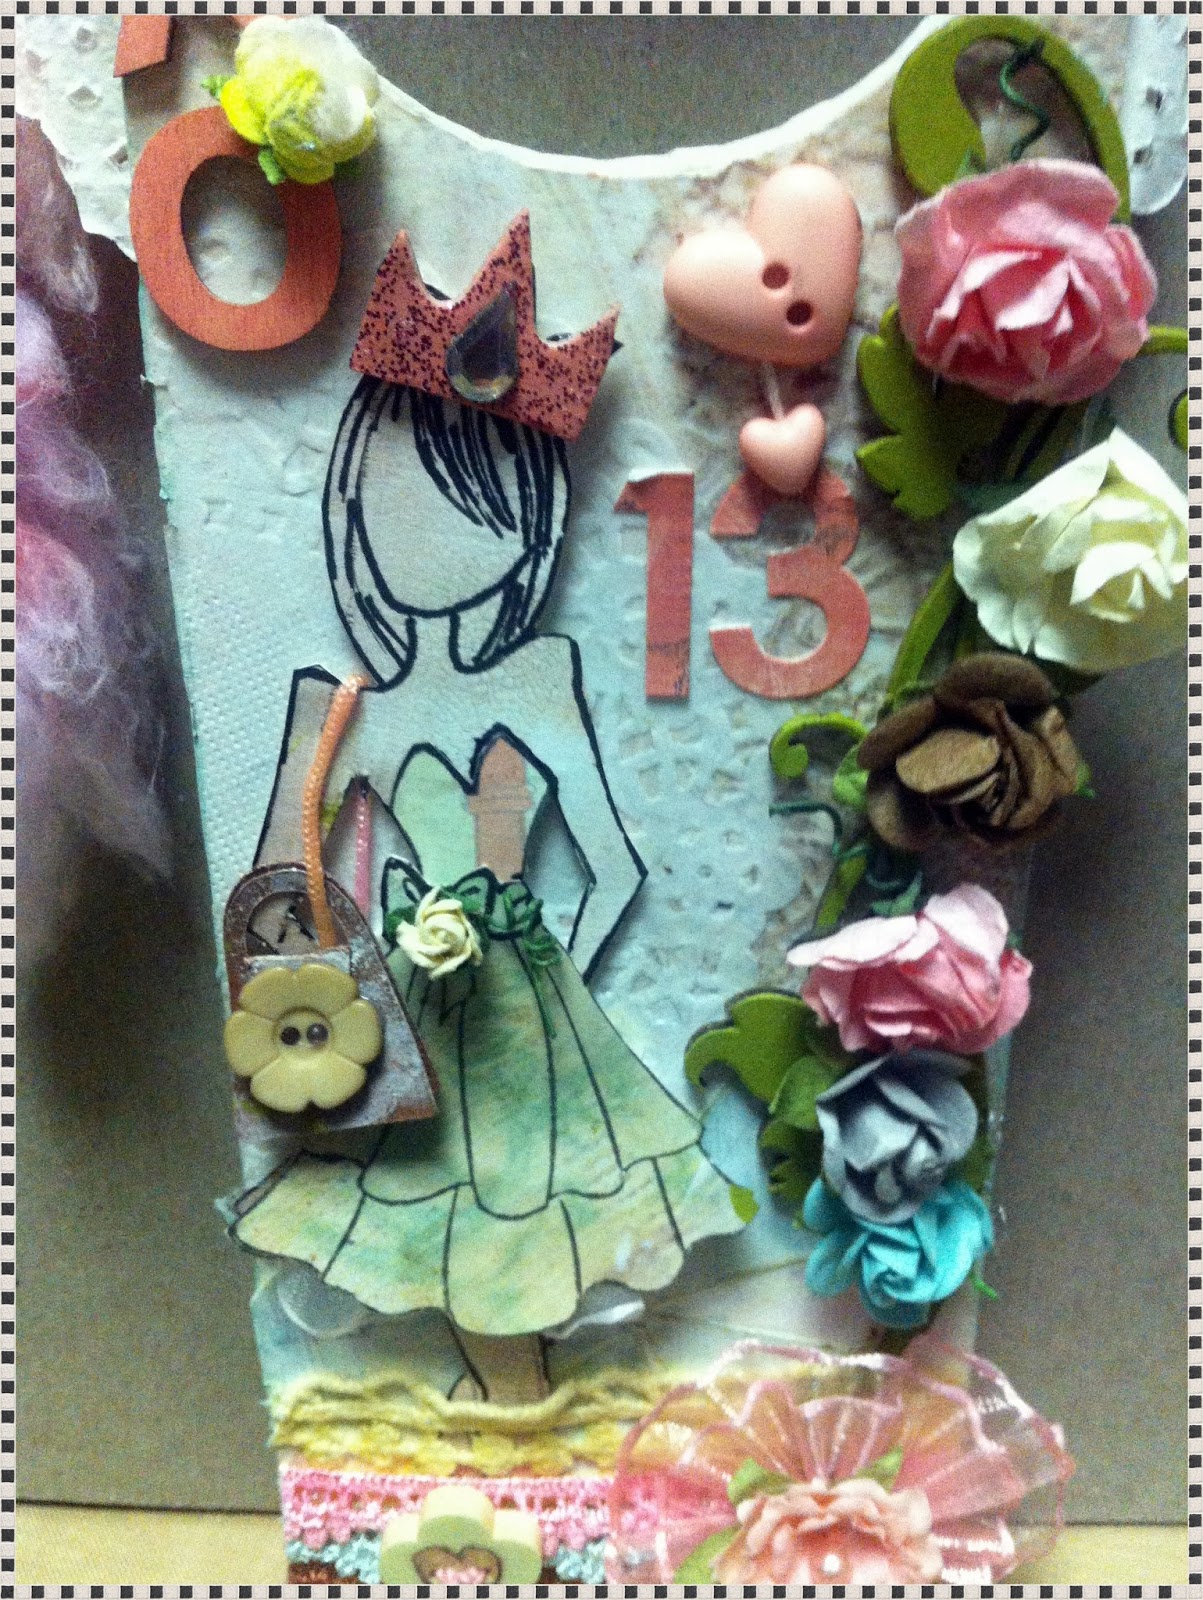
Fourth gift was a door hanger.  In my home we respect each others privacy- when door are closed we knock and wait for permission to enter.  She is such a girly diva I simply had to create something to hang outside her door. I paper pierced the Prima doll stamp with papers from the Life Time Collection.


The fifth gift was a handbag I made using a paper plate.  Pretty simple really...fold the paper plate in half and glue.  Add beautiful paper (I used a 12x12 sheet from Echo Park's Dearest Mom Paper Collection), some lace, a ribbon and some beautiful flowers.  She loved it...


Last but not least I altered two notebook.  She loves to journal and always has her notebook and pen handy.


I had so much fun making all of these and in the end I have to agree...a handmade gift is priceless!

Thanks for stopping by...

Wednesday, 1 May 2013

Altered Ikea Frame


Hi Paper Lane-rs  today I wish to share with you an Ikea photo frame that I altered into a clock using Martha Stewart's glow in the dark paint on the hour numbers and clock hands.

This is the Ikea photo frame I used ...
I wanted a shabby chic old look so I painted the surface of the clock with brown paint.  When the paint was dry I applied crackle paint and left it on my balcony to dry naturally and over night.  Then I brushed on a layer of white acrylic paint to allow the crackle to appear - loved the effect!


The clock hands and numbers have many layers of the glow in the dark paint.  When you apply so many layers of the glow in the dark paint it becomes like a thick film so half way through the painting process I pulled off some of the layers so that the gold of the clock hands shone through.  Then I applied a few more layers and that gave the effect of the clock hands having a weathered aged effect too.


I used white dabber on a wooden clock trinket - I positioned the clock hands with a brad and adhered to the center of the oval shape - look pretty good don't you think??!!

Next was just decorating with different flowers, I also added a bird and a birdhouse ... simple and clean just the effect I wanted.


I kept the style pink and shabby to go with the gifts I made my daughter for her birthday as she laid claim to the clock while I was in the midst of creating.

PRODUCTS USED

Martha Stewart vanilla bean acrylic craft paint
Martha Stewart weather crackle effect
Martha Stewart glow-in-the-dark finish

Adirondack snow cap acrylic paint dabber
Adirondack metallic copper acrylic paint dabber 
Jenni Bowlin malted milk paint dabber

En Francais A4 Paper Stack
Amy Tangerine Letter Stickers

Prima wood embellishments
Prima shabby chic treasures

Pink artifical flowers
Various white flowers

All these products are available at Paper Lane and more.  Paper Lane stocks the entire range of Martha Stewart craft products;  from stencil crafts to glass and glitter crafts, clay and molds and a vast selection of acrylic paints that are an absolute pleasure to work with. Go get your supplies now!

Happy crafting...Janine

Wednesday, 24 April 2013

Birds Nest

Hello crafty people....I have been busy busy in my little craft room creating all kinds of stuff...some   for Paper Lane and some for me.  Loved making the Prima Tag (click on the name if you want to see the post) using the left over scraps from the Life Time Collection.  I also made several gifts for my daughters birthday (post to come soon) and a birds nest from this basket thingie...


I bought this wrought iron like basket at Daiso last year some time with the intention of putting it to use as my bits and bobs container which I need when crafting.  But of course the holes in the wire just rendered it useless for that and I did not pursue any ideas on how to utilize it at the time!  I put it aside and while cleaning my room last weekend I found it and placed it within view to do somethign with it. For those of you who know me personally you know I love birds and bird gardens etc...by the way did you see the bird house garden I created??  Click on the name to see the post!

Anyway I got the idea to create a birds nest in the basket while I was browsing pinterest.  I love it and I keep adding bits and bobs to it...seems the idea to have it as a bits and bobs container has some truth in it after all :-)

So take a look and let me know what you think....................


I used strings of burlap, old potpourri (I never throw anything away), twigs, an assortment of artificial flowers, some eggs, bit of shiny bling.  Obviously the two birds - I hot glued the green bird on the rim of the basket and the red/pink one inside the nest near the eggs.

It is so pretty - photographs just does not do it justice.

Tuesday, 23 April 2013

Family Layout


The beautiful Life Time paper line by Prima inspired me to scrap a family photograph taken on my birthday a year ago at Bab Al Shams.  With half our family living in South Africa it was and is a pleasure when we are all together.  I love this photograph taken before we started to feast and enjoy the nights entertainment.


 This collection is so suitable for a family layout what with one page containing words like family, memories, together, cherish, etc. and another with tags and sentiments among other things.  I used software on my computer to change the original colours of the photograph to various hues of brown - it suited the paper tones perfectly.  The tag with the green ribbon bow slides behind the layers of paper - I will use this tag for my journaling - the black alphas read Bab Al Shams 30-12-2011.

The 12x12 sheet I hot glued onto black chipboard.  I tore the paper somewhere in the middle, added some soft netting I sometimes use on my layouts  and a bit of matching lace to stick out slightly.  I used two layers of patterned paper from the collection before adhering the photograph.  Tore into the paper at the left hand corner and curled it so that they followed some kind of order.

I used many different masks, templates, pastes, glimmer mists and distress inks to alter the sheet I chose for my layout - yeah then I went and layered all my embellishments and now the effects are only peeping out :-)  I just had to add the camel for the desert effect!


The chipboard heart is by dusty attic and frames all our smiling faces beautifully.  I used various dabbers on the chipboard.


The black key is also a Prima embellishment.  I clustered 4 flowers from the collection and placed the pink flower on top - I love how the petals peed out! The little tag that reads smile I fussy cut from one of the sheets of paper.


The flowers are also from the collection.  With the exception of the lace and 3 material flowers everything I used in this layout is available at Paper Lane including the camel.  There are other matching elements available in this collection; it is beautiful and perfect for layouts, cards, mini albums, anything.  Pop into the store and get yours now!

I hope you enjoyed viewing my layout...until next time happy crafting!  Janine